
Zendesk Help Center
In this article, you'll learn how to connect Zendesk to your Enjo workspace, what access is granted, and how the integration is used across knowledge, escalation, and Agent Assist.
Prerequisites
You need Owner role or relevant admin permissions in Enjo.
You need Administrator permissions in your Zendesk account.
What Enjo accesses
The Zendesk integration uses OAuth 2.0 for authentication and requests read-only access to the following resources:
Resource | Used for |
|---|---|
Tickets | Knowledge ingestion from past tickets |
Users | User context for personalization and routing |
Organizations | Organization-level context for responses |
Groups | Routing and assignment context |
Knowledge Base articles | AI knowledge grounding and Help Center migration |
Comments | Context for AI responses |
Attachments | Supporting content for knowledge ingestion |
Custom fields | Ticket context and field mapping |
💡 All access is read-only. Enjo does not write to or modify any data in your Zendesk account through this connection.
Connection Steps
Login to Enjo dashboard --> Settings--> Apps.
Click on the "Connect Apps" button.
Choose "Zendesk" from the list.
Specify the connection name and choose the visibility of the connection - if the connection should be available for the entire workspaces or only selected Enjo AI agents and click the "Connect" button.
Enter the Zendesk URL and Click on 'Add Account'.
You would be redirected to the Zendesk consent screen where you would be asked to allow access.
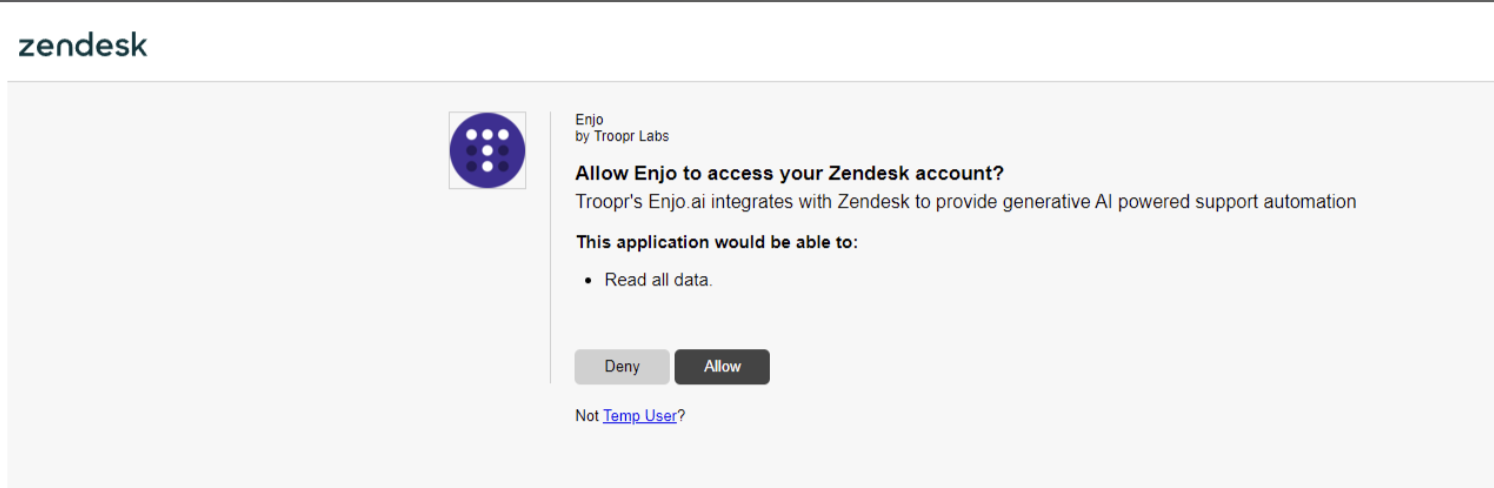
You can see your connection under Apps. Zendesk Help Center is now successfully integrated into your Enjo workspace.
💡 If you need separate Zendesk connections for different AI Agents, set the visibility to selected agents and repeat the setup for each connection.
What's next
Knowledge Sources — Configure how Zendesk data is indexed and synced.
AI Actions — Set up real-time case lookup and update actions for your AI Agent.