
Hubspot
Connecting HubSpot to Enjo allows your AI agents to read and write contact data and access ticket information directly from your HubSpot account. This guide walks you through the full setup — from creating the connection in Enjo to generating a Service Key in HubSpot and completing the authorization.
Before you begin
You will need admin or workspace-level access to your Enjo account.
You will need admin access to the HubSpot account you want to connect.
Step 1: Open Settings and go to the Apps tab
From anywhere in Enjo, click your workspace name in the top-left corner to open the navigation menu. Scroll to the bottom and click Settings. In the left sidebar under the Workspace section, click Apps.
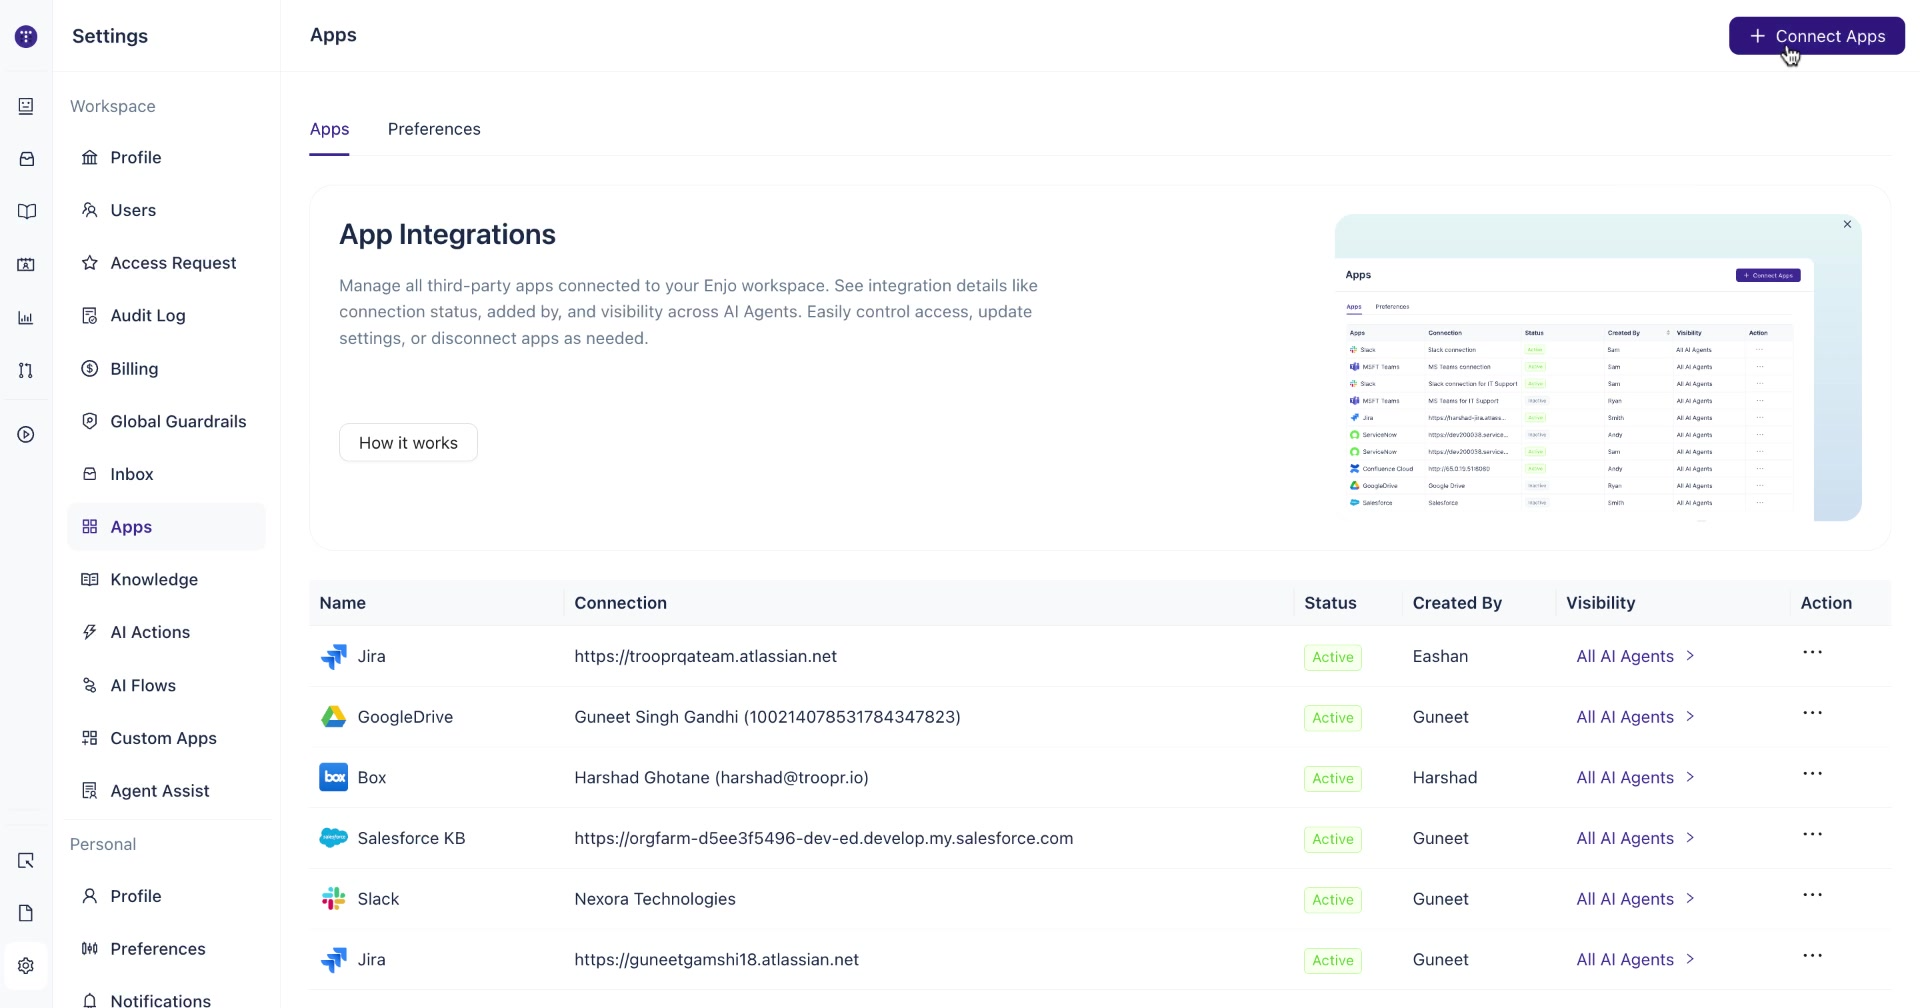
Step 2: Click Connect Apps and select HubSpot
In the top-right corner of the Apps page, click + Connect Apps. The Application Connections drawer opens. You can search for HubSpot using the search bar at the top, or scroll down to find it. Click HubSpot to begin.
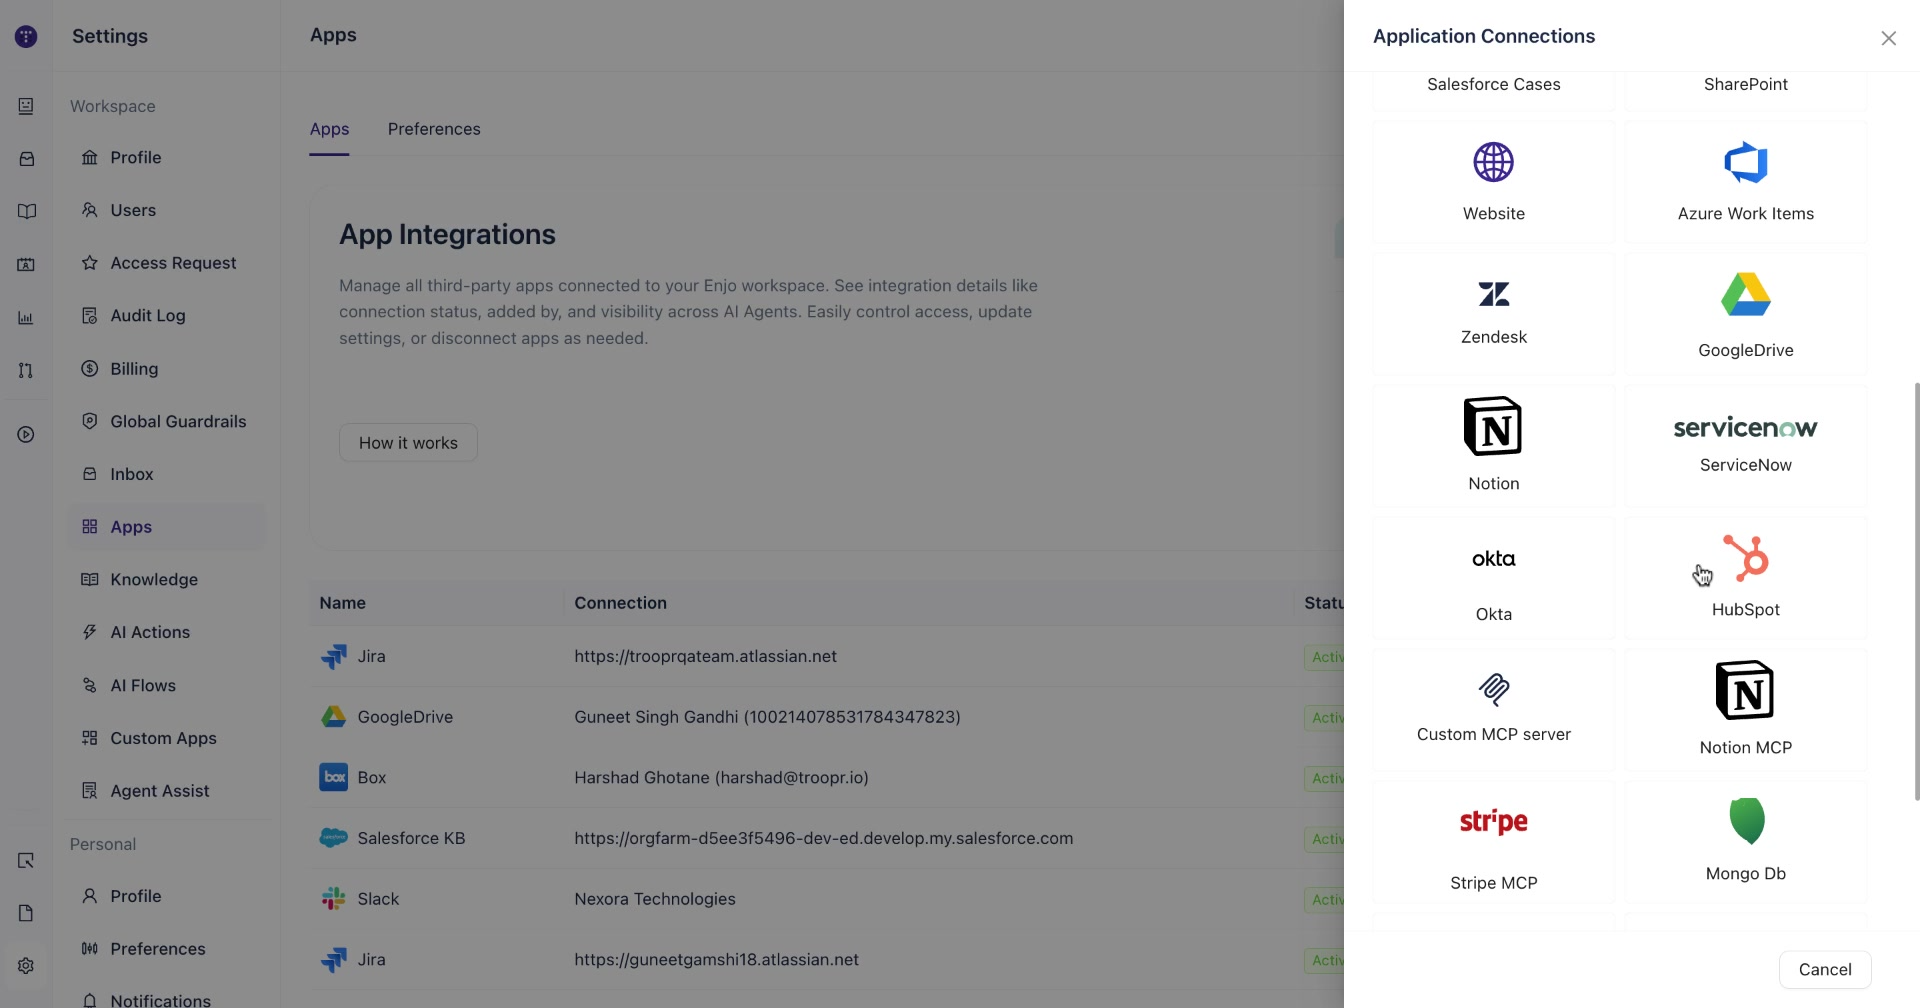
Step 3: Add a new connection
After selecting HubSpot, a panel opens on the right. Click + Add new to create a new connection.
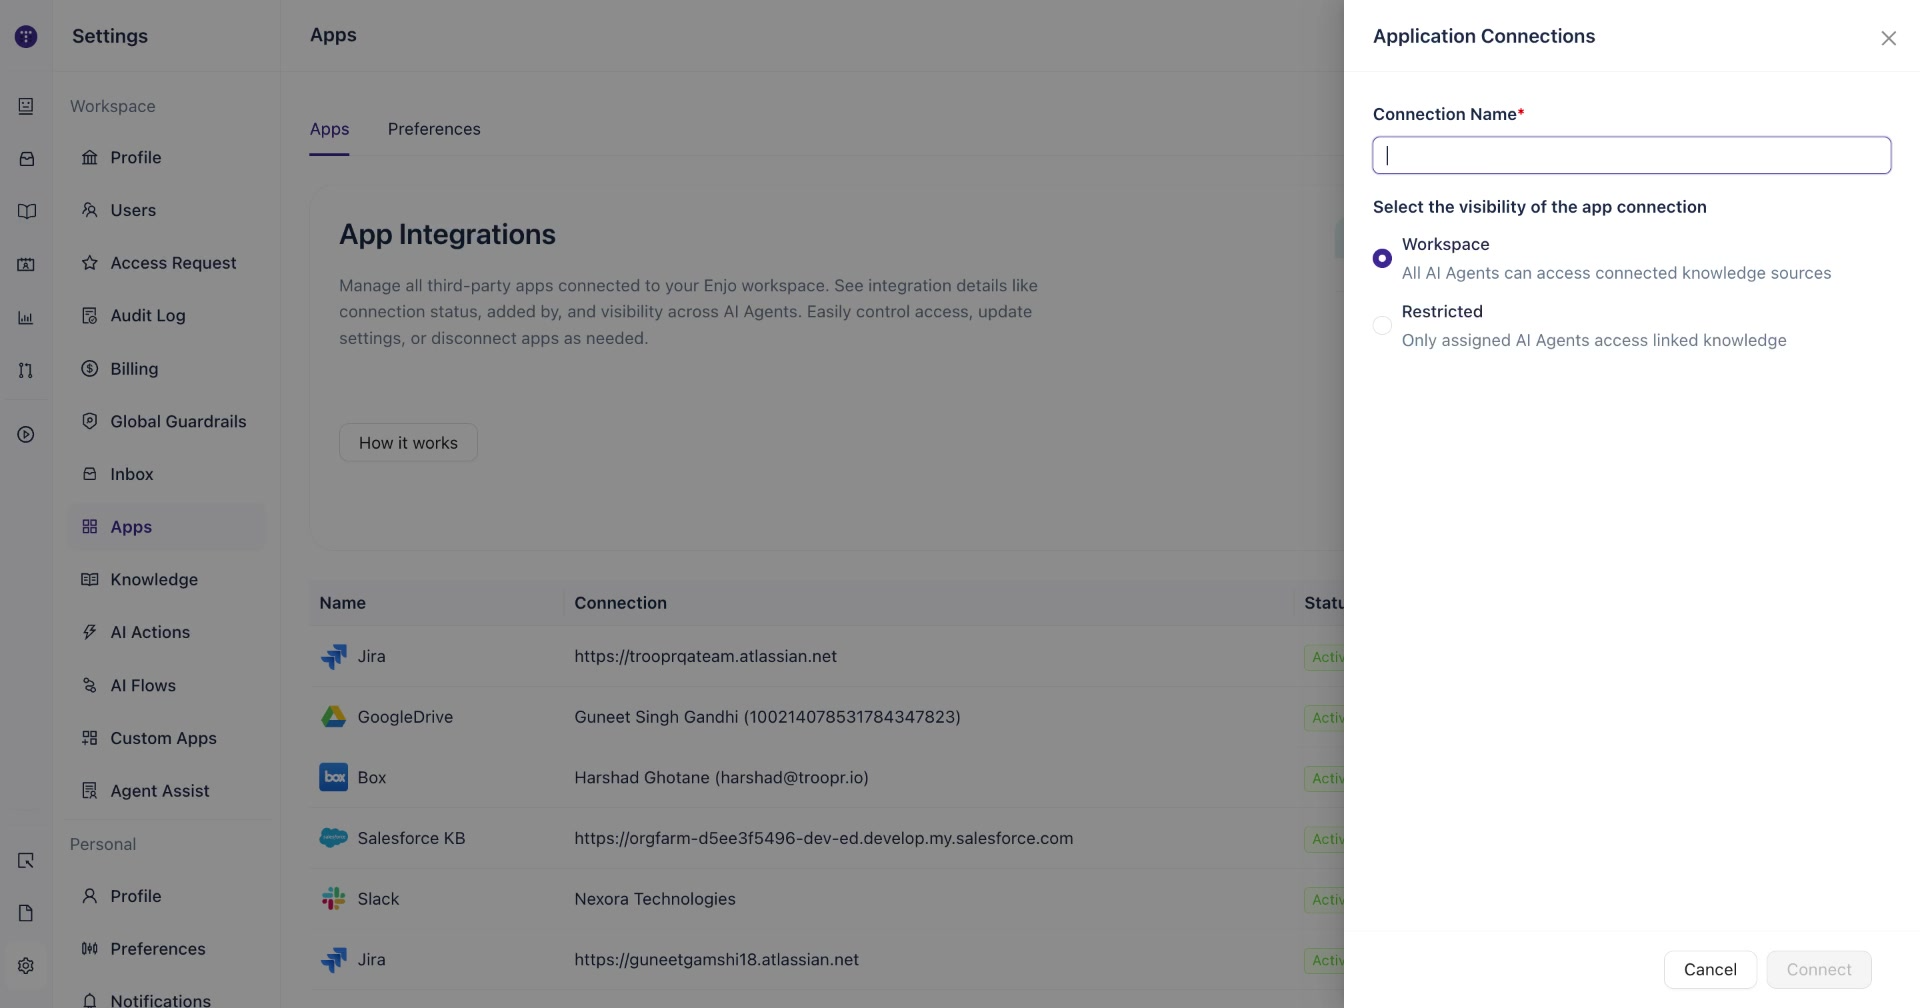
Step 4: Name the connection and set visibility
Fill in the connection details:
Connection Name — enter a name to identify this connection. Using your company or HubSpot account name works well (e.g. "Nexora").
Visibility — choose who can access this connection:
Workspace — all AI agents in your workspace can use data from this connection.
Restricted — only AI agents you explicitly assign will have access.
Once you have entered a name and selected visibility, click Connect.
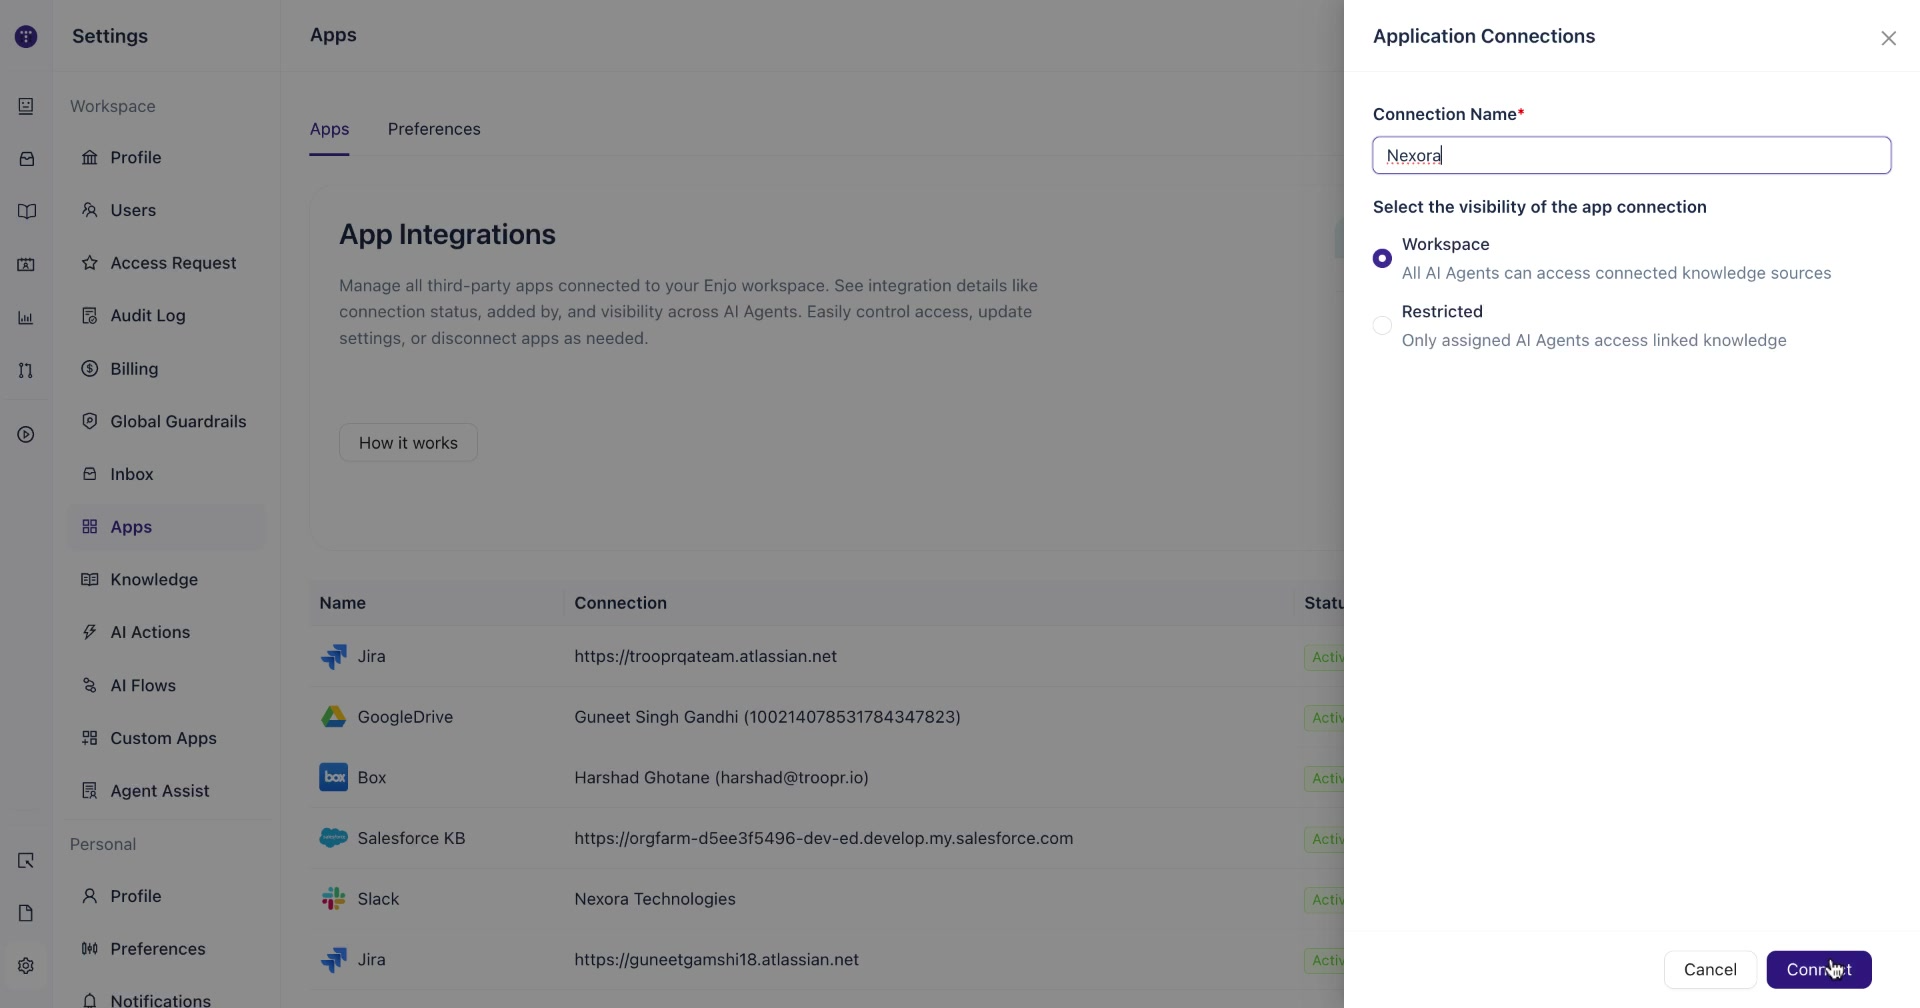
Step 5: Review the HubSpot setup instructions
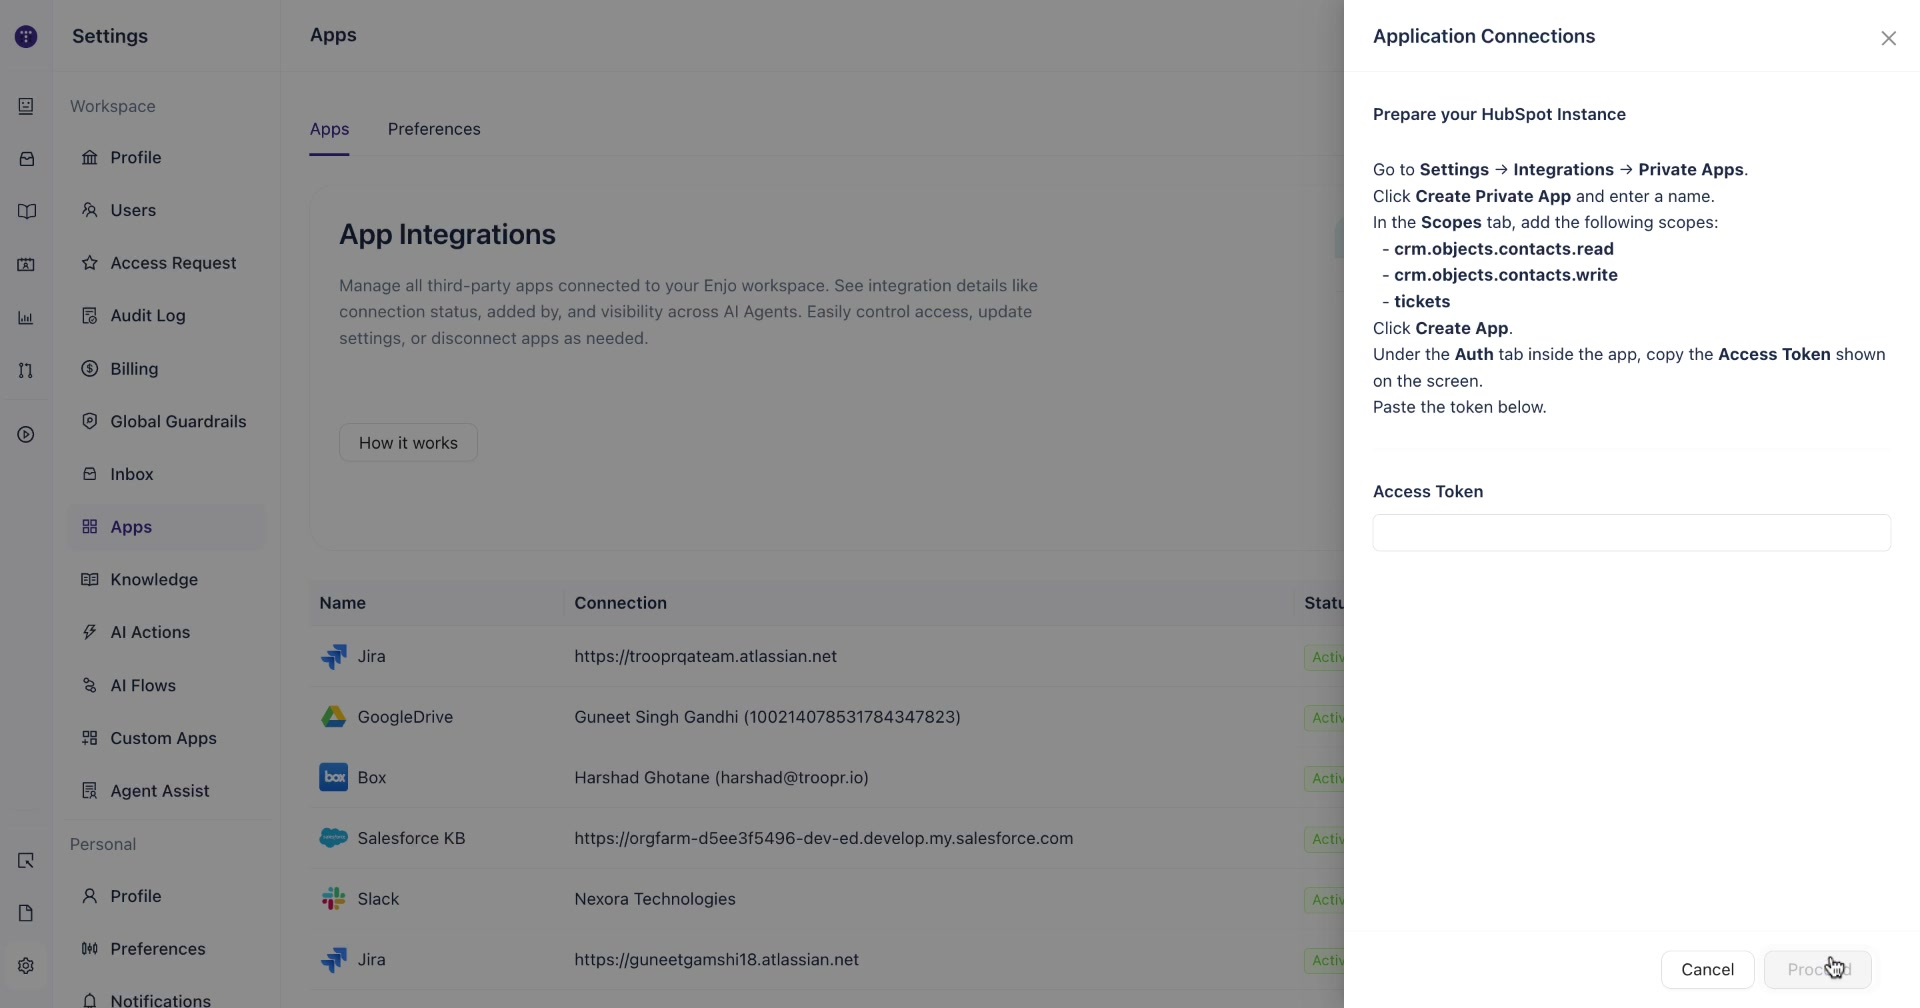
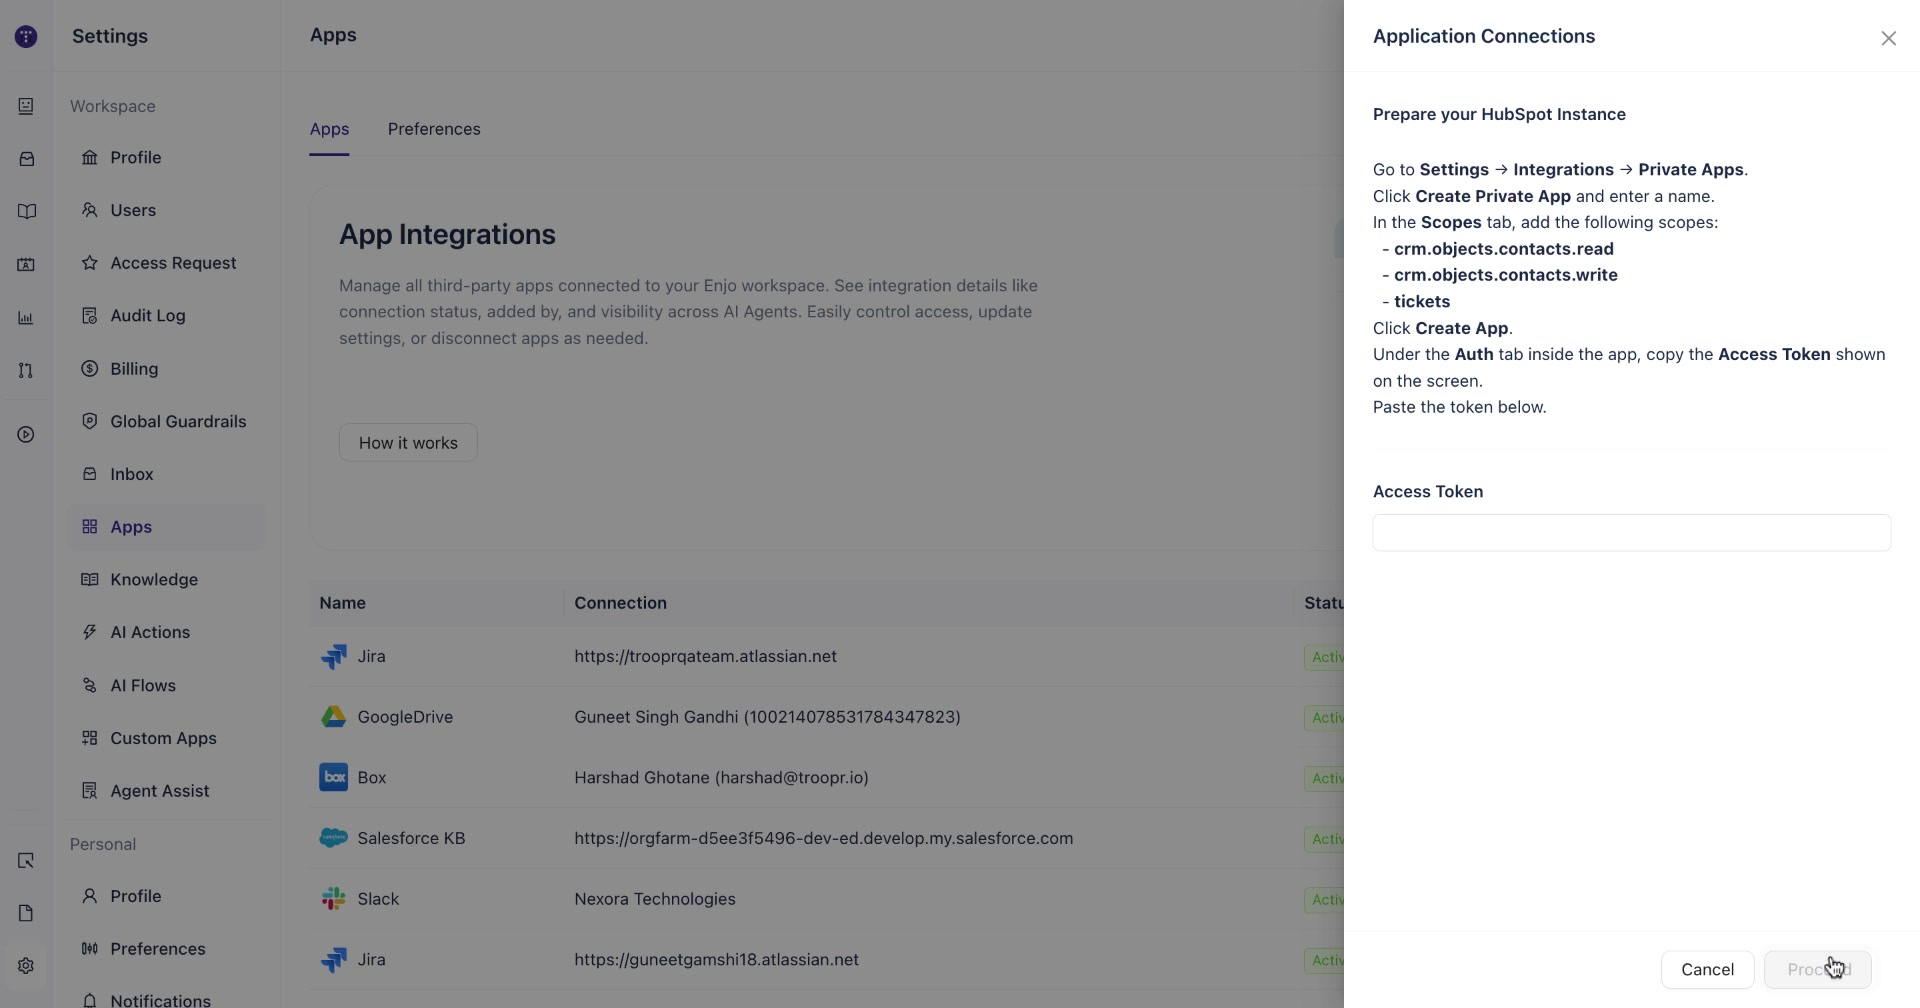
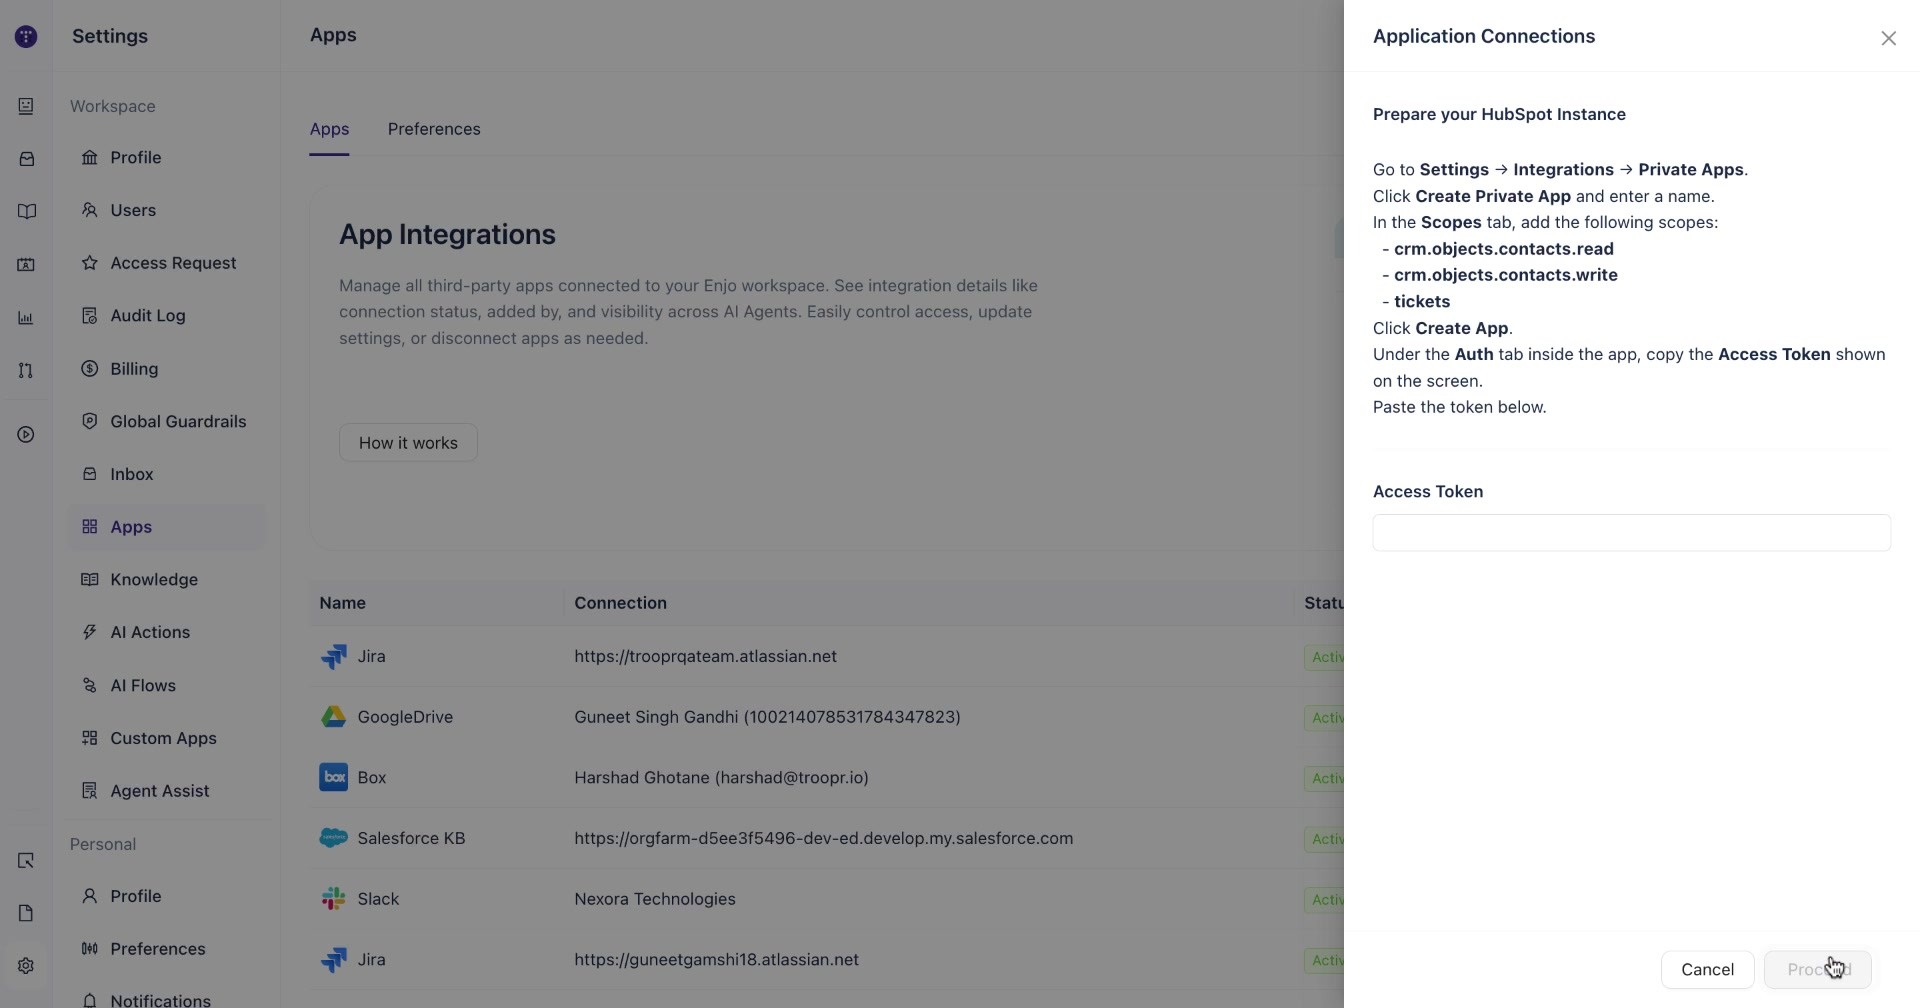
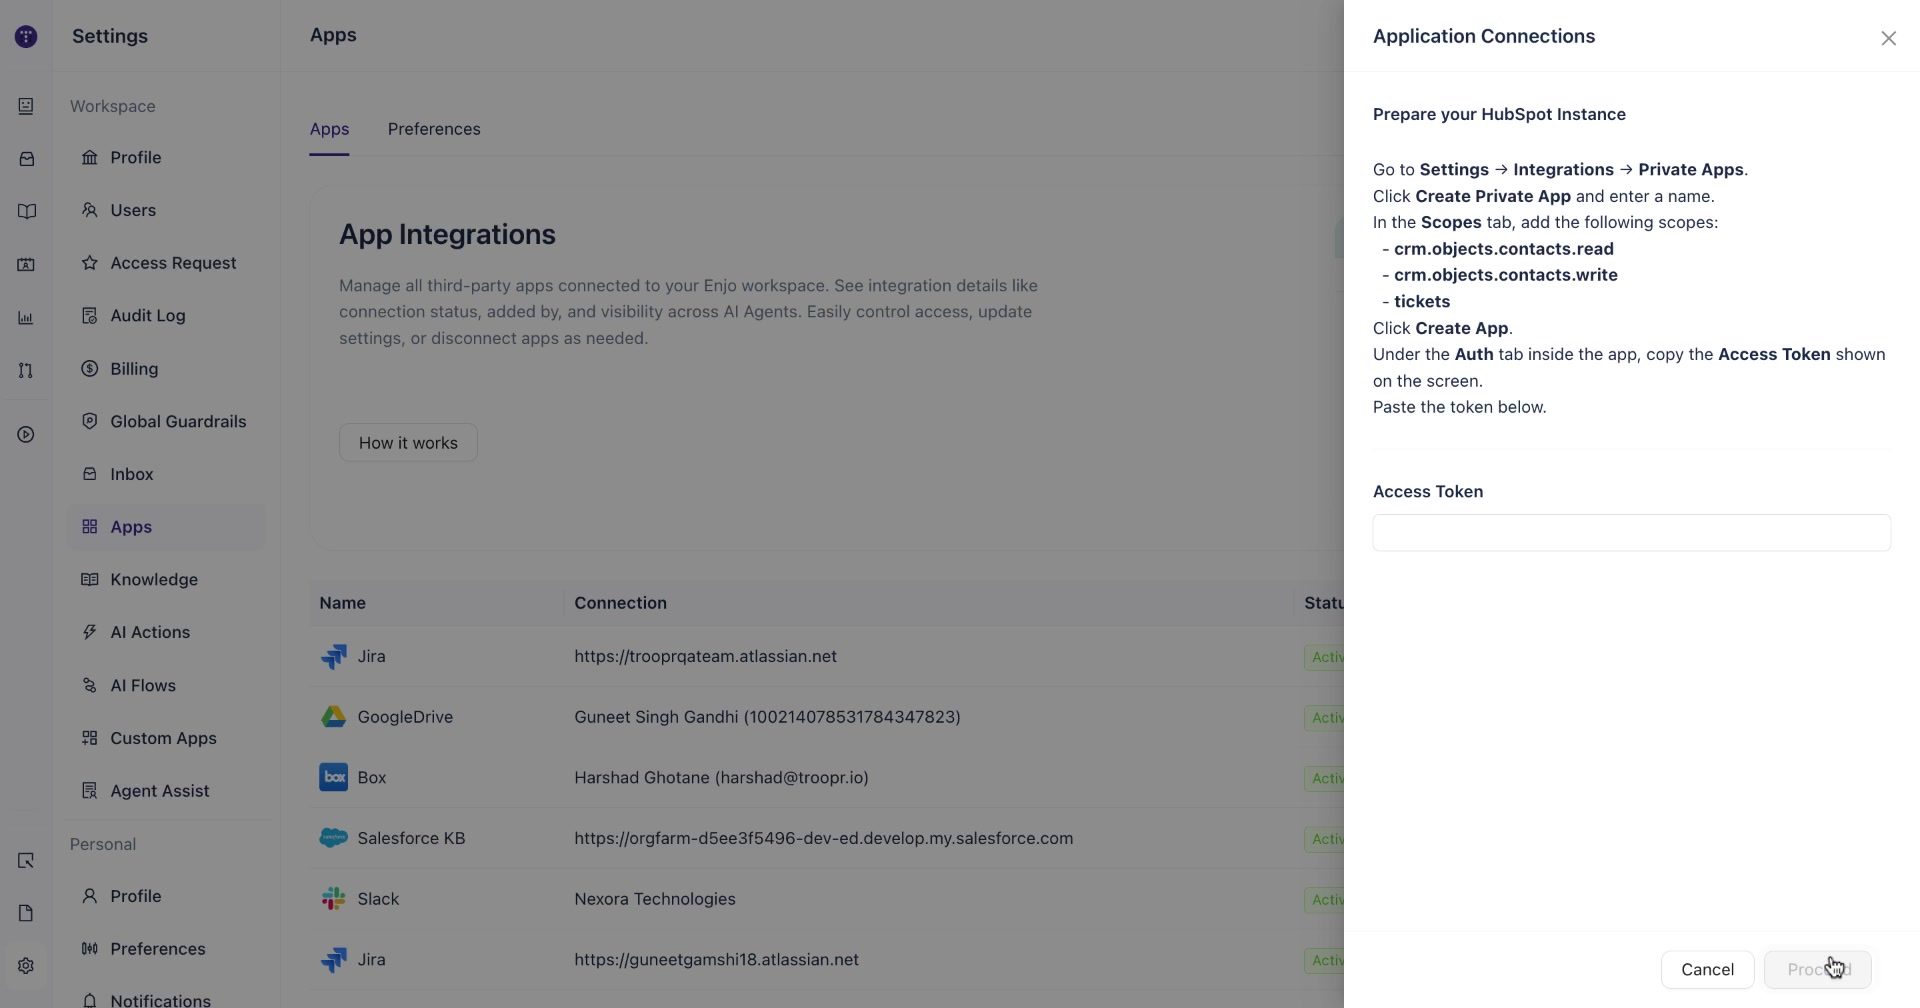
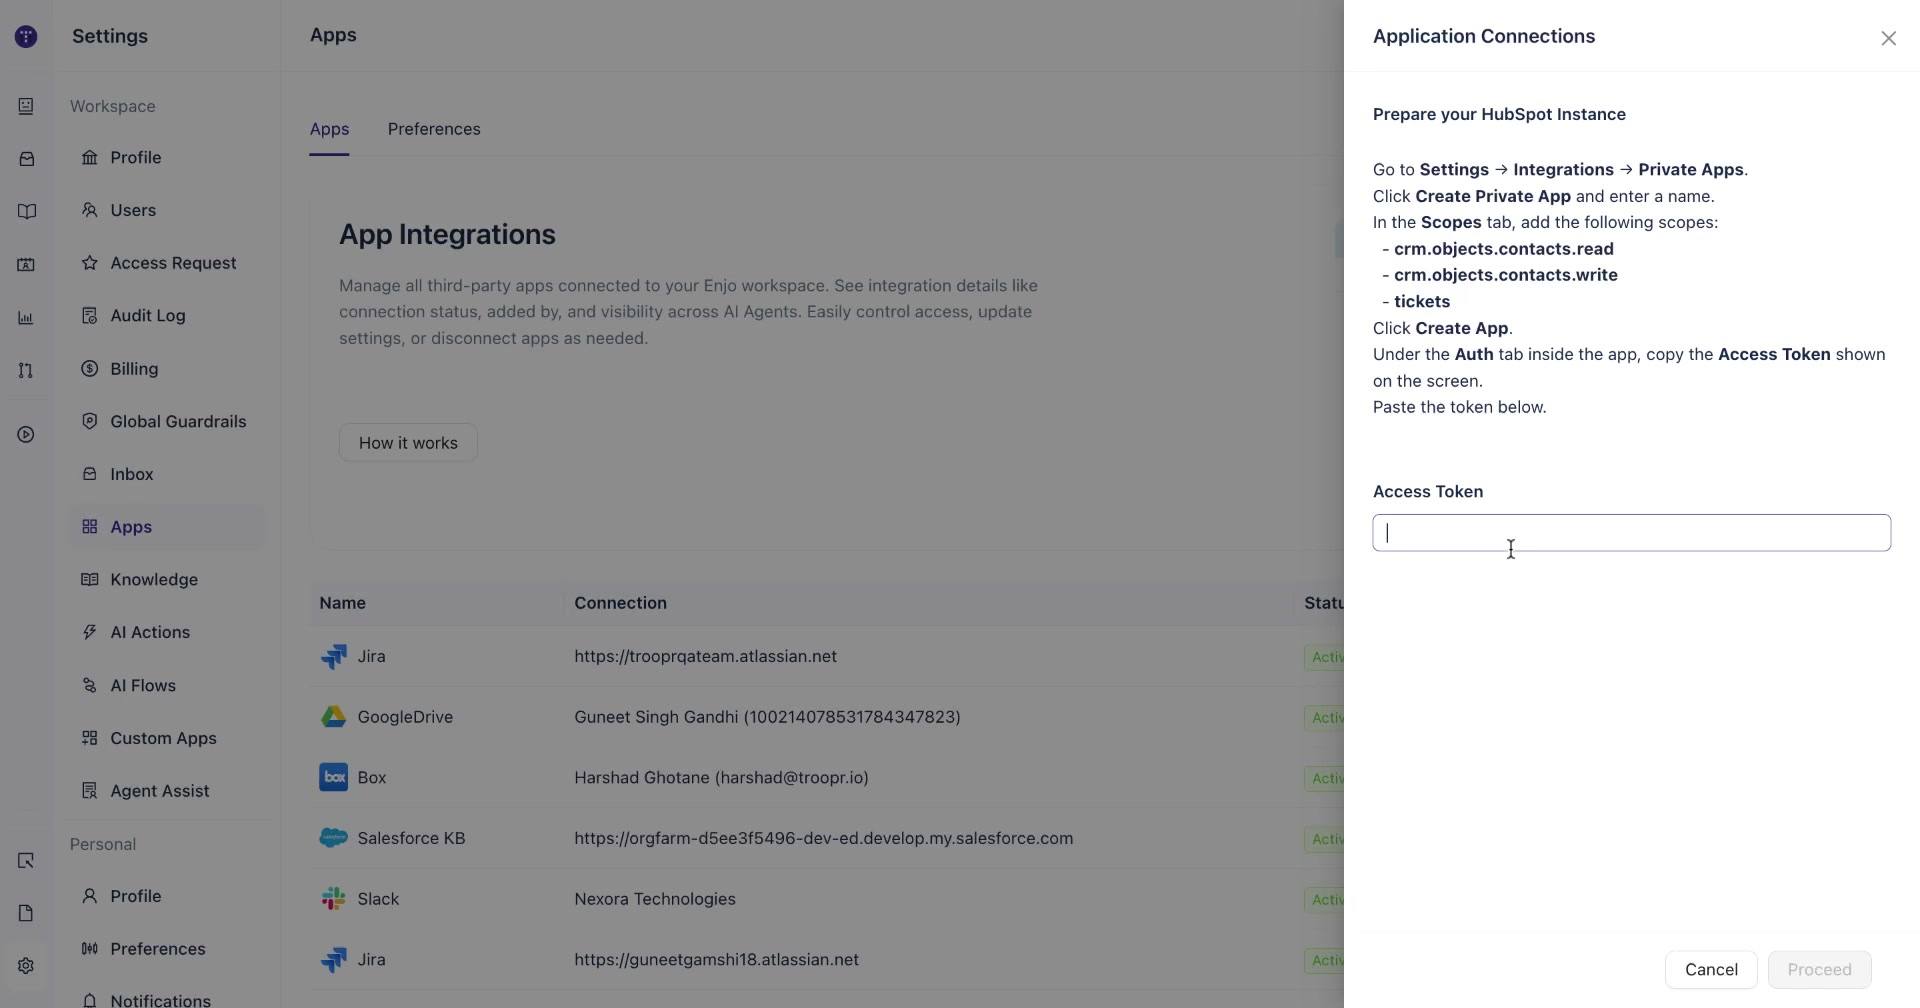
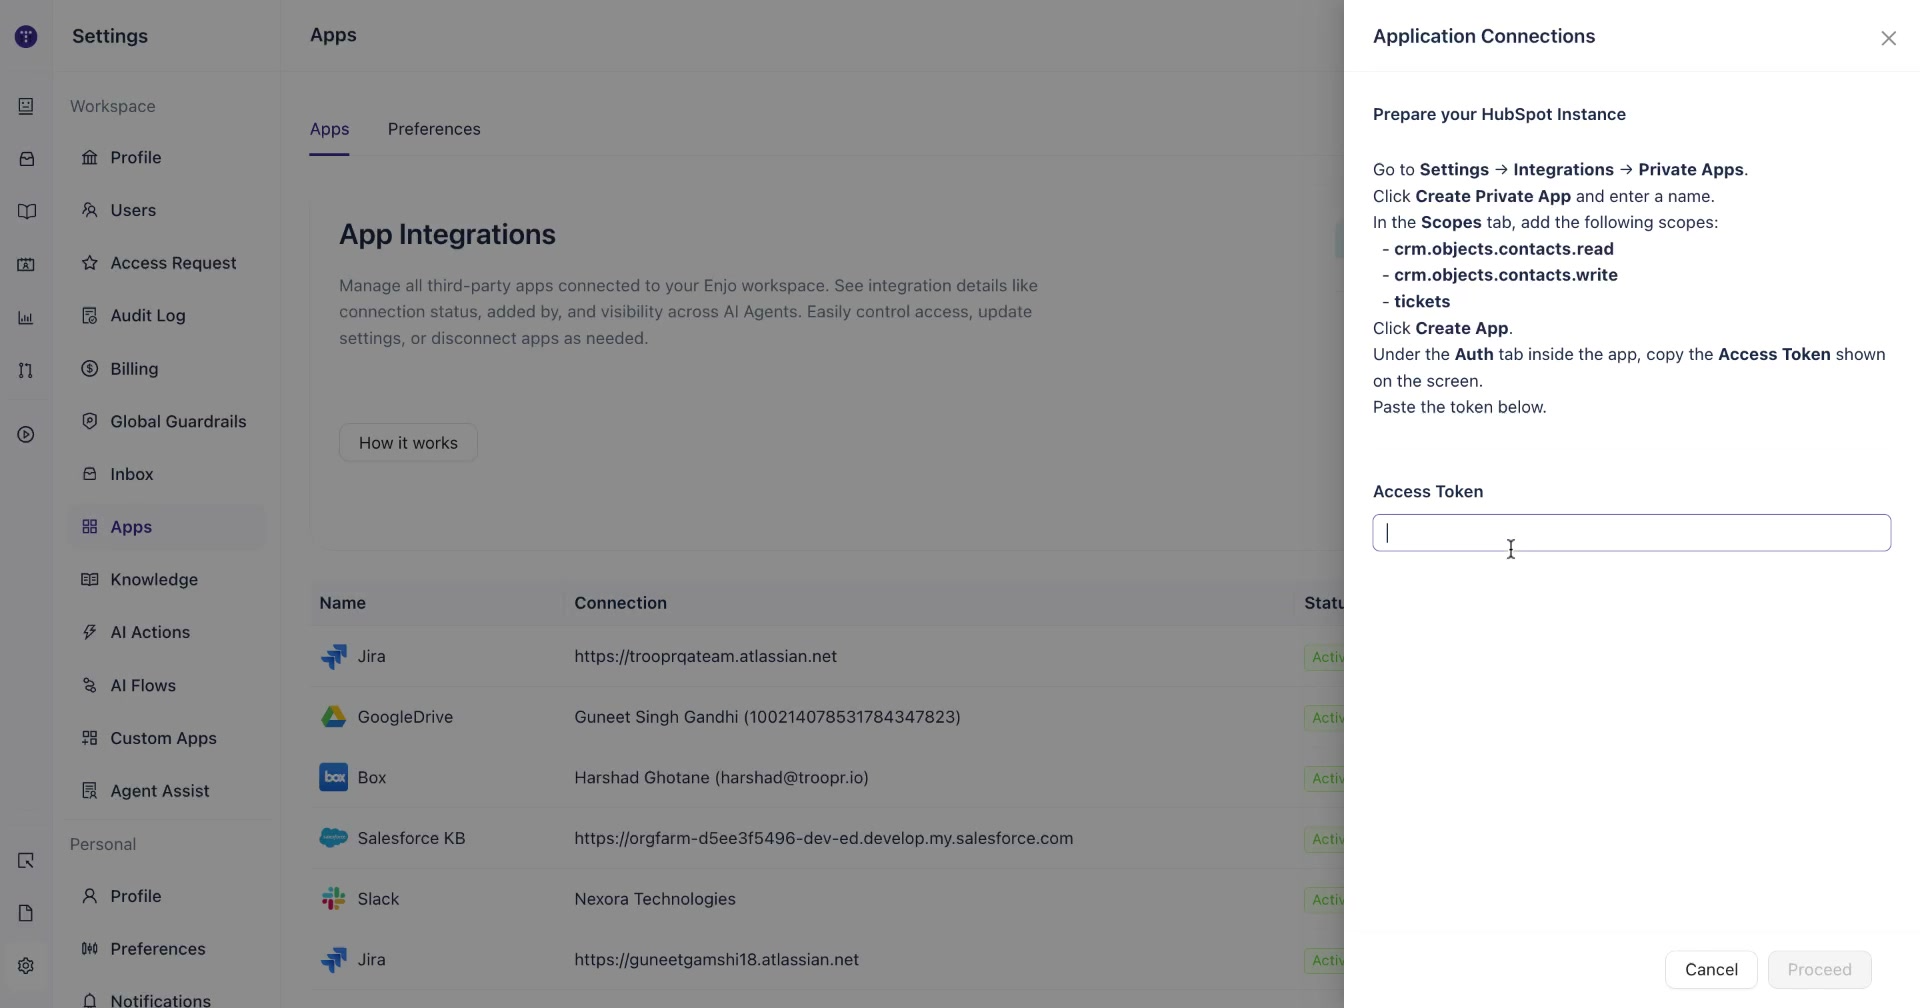
After clicking Connect, Enjo shows a Prepare your HubSpot Instance panel with step-by-step instructions. Keep this panel open — you will need to return to it to paste your access token.
The three scopes Enjo requires are:
crm.objects.contacts.readcrm.objects.contacts.writetickets
The Access Token field at the bottom of this panel is where you will paste the key generated from HubSpot.
Step 6: Open HubSpot Settings
Switch to your HubSpot account. Click the Settings icon (gear icon) in the top navigation bar. In the left sidebar, expand Integrations and click Private Apps.
Note: In the current version of HubSpot, Private Apps have been moved under the Legacy Apps section. If you do not see Private Apps at the top level, look for Legacy Apps in the Integrations section instead.
Step 7: Create a new Legacy App (Private)
Click Legacy Apps, then click Create Legacy App. When prompted to choose the type, select Private.
A second screen will appear with a warning that legacy private apps have limited functionality. HubSpot recommends using Service Keys instead. Click Use Service Keys instead to proceed with the recommended approach.
Step 8: Create a Service Key in HubSpot
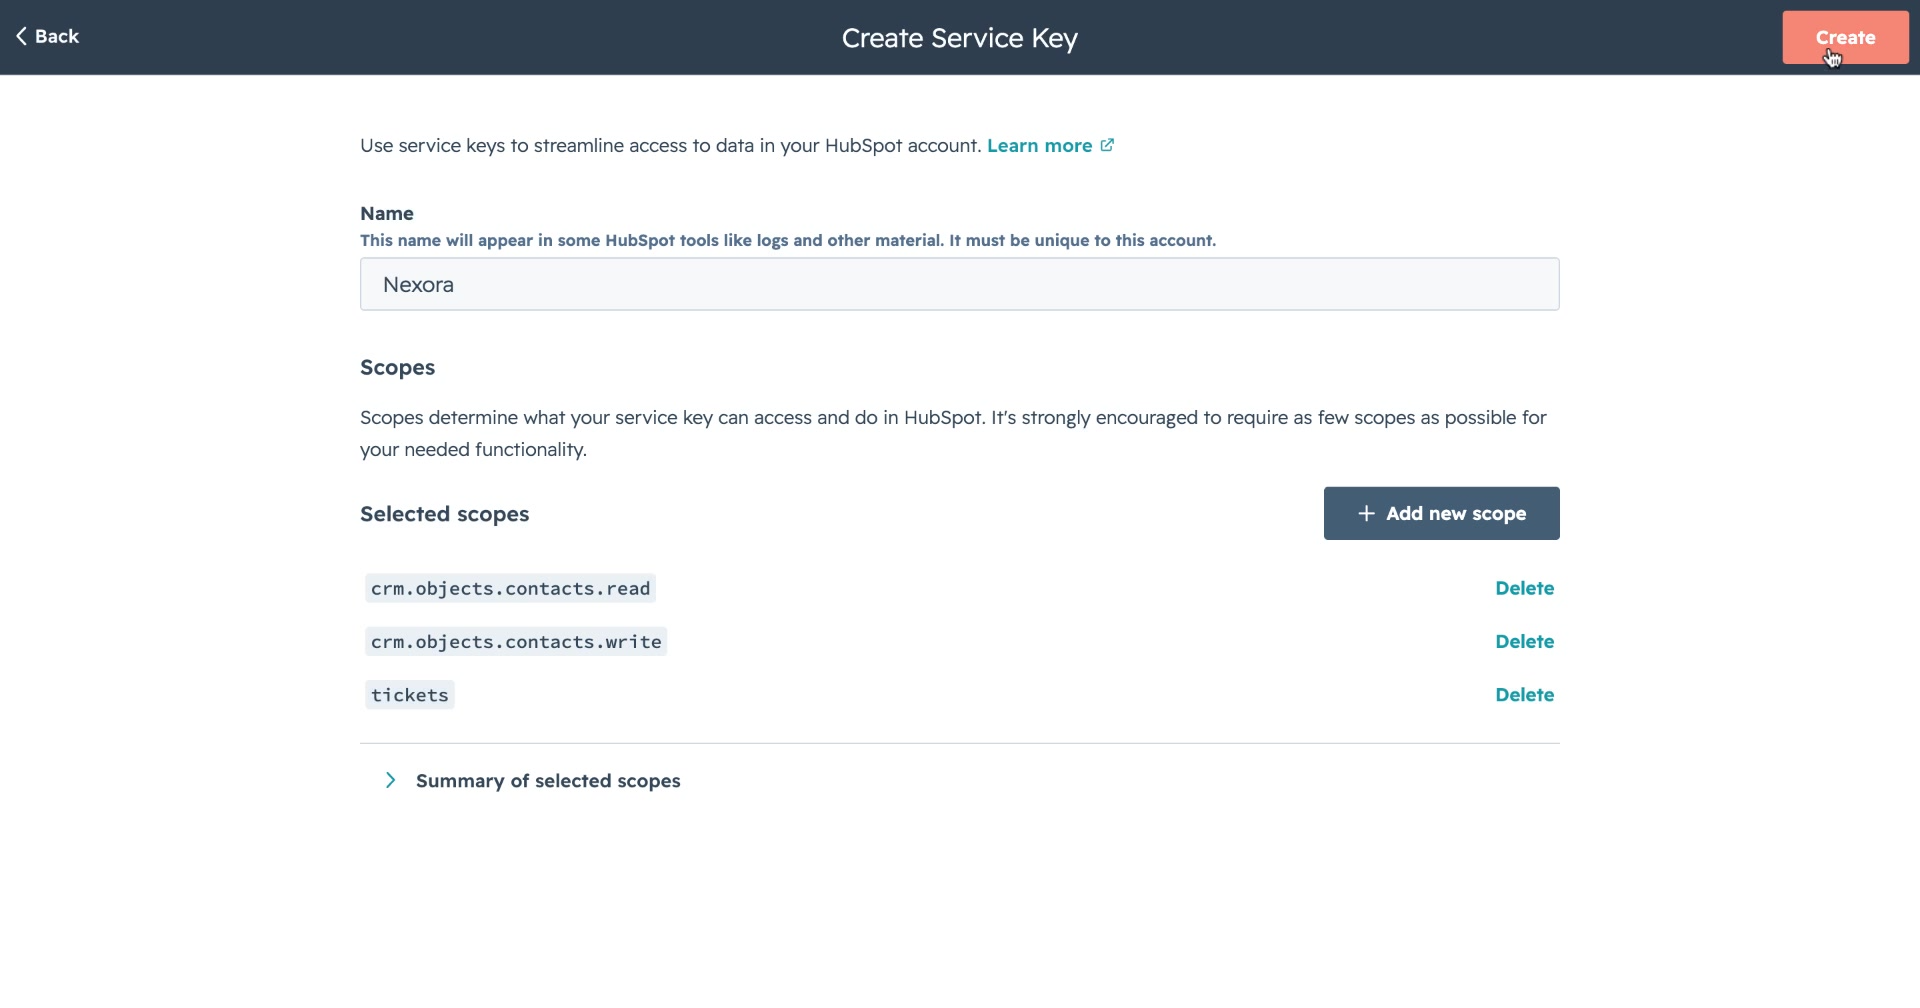
You will be taken to the Create Service Key screen. Fill in the following:
Name — enter a name for this service key. This will appear in HubSpot logs and tools, so use something recognizable like your company name (e.g. "Nexora"). The name must be unique within your HubSpot account.
Scopes — click + Add new scope to open the scope picker. You need to add exactly three scopes:
Search for
ticketsand select tickets under the Other category.Search for
contactand select crm.objects.contacts.read under the CRM category.Search for
contactagain and select crm.objects.contacts.write under the CRM category.
Click Update after selecting all three scopes. Your Selected Scopes list should show all three before proceeding.
Step 9: Create the service key
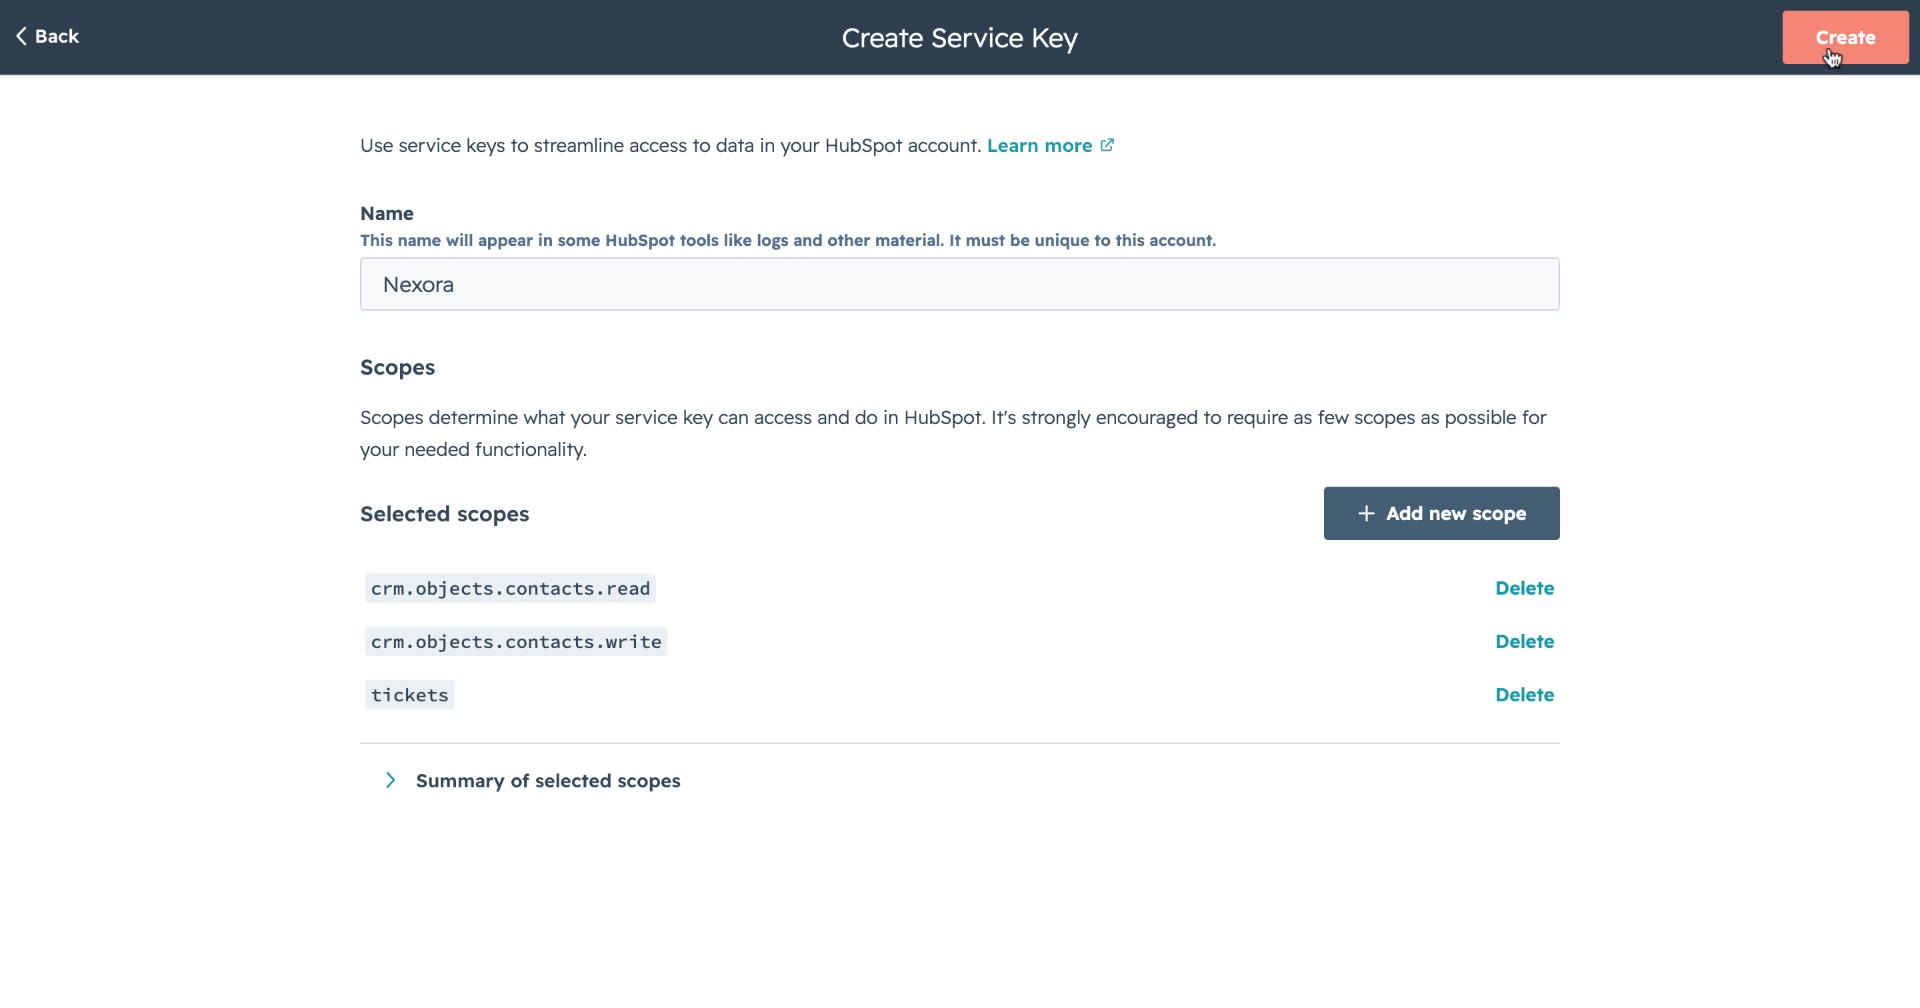
Once all three scopes are added, click Create in the top-right corner of the Create Service Key page. A confirmation dialog will appear asking if you are sure. Click Create again to confirm.
HubSpot will generate your service key and display the Access Token on the screen.
Step 10: Copy the Access Token and paste it into Enjo
Copy the Access Token from HubSpot. Switch back to the Enjo platform, paste the token into the Access Token field in the Application Connections panel, and click Proceed.
Step 11: Confirm the connection is active
After clicking Proceed, Enjo validates the token and completes the integration. The HubSpot connection will now appear at the top of your Apps list with an Active status. The entry shows the connection name, the Enjo user who set it up under Created By, and the visibility setting.
Removing the HubSpot connection
To disconnect HubSpot from Enjo, click the "⋯" menu in the Action column next to the HubSpot connection and select Delete. This removes Enjo's access to your HubSpot account immediately.
What's next
Bitbucket — Learn how to connect your Bitbucket account to Enjo and use repositories as a knowledge source for your AI agents.
Box — Learn how to connect your Box account to Enjo and surface files stored in Box through your AI agents.