
Commands
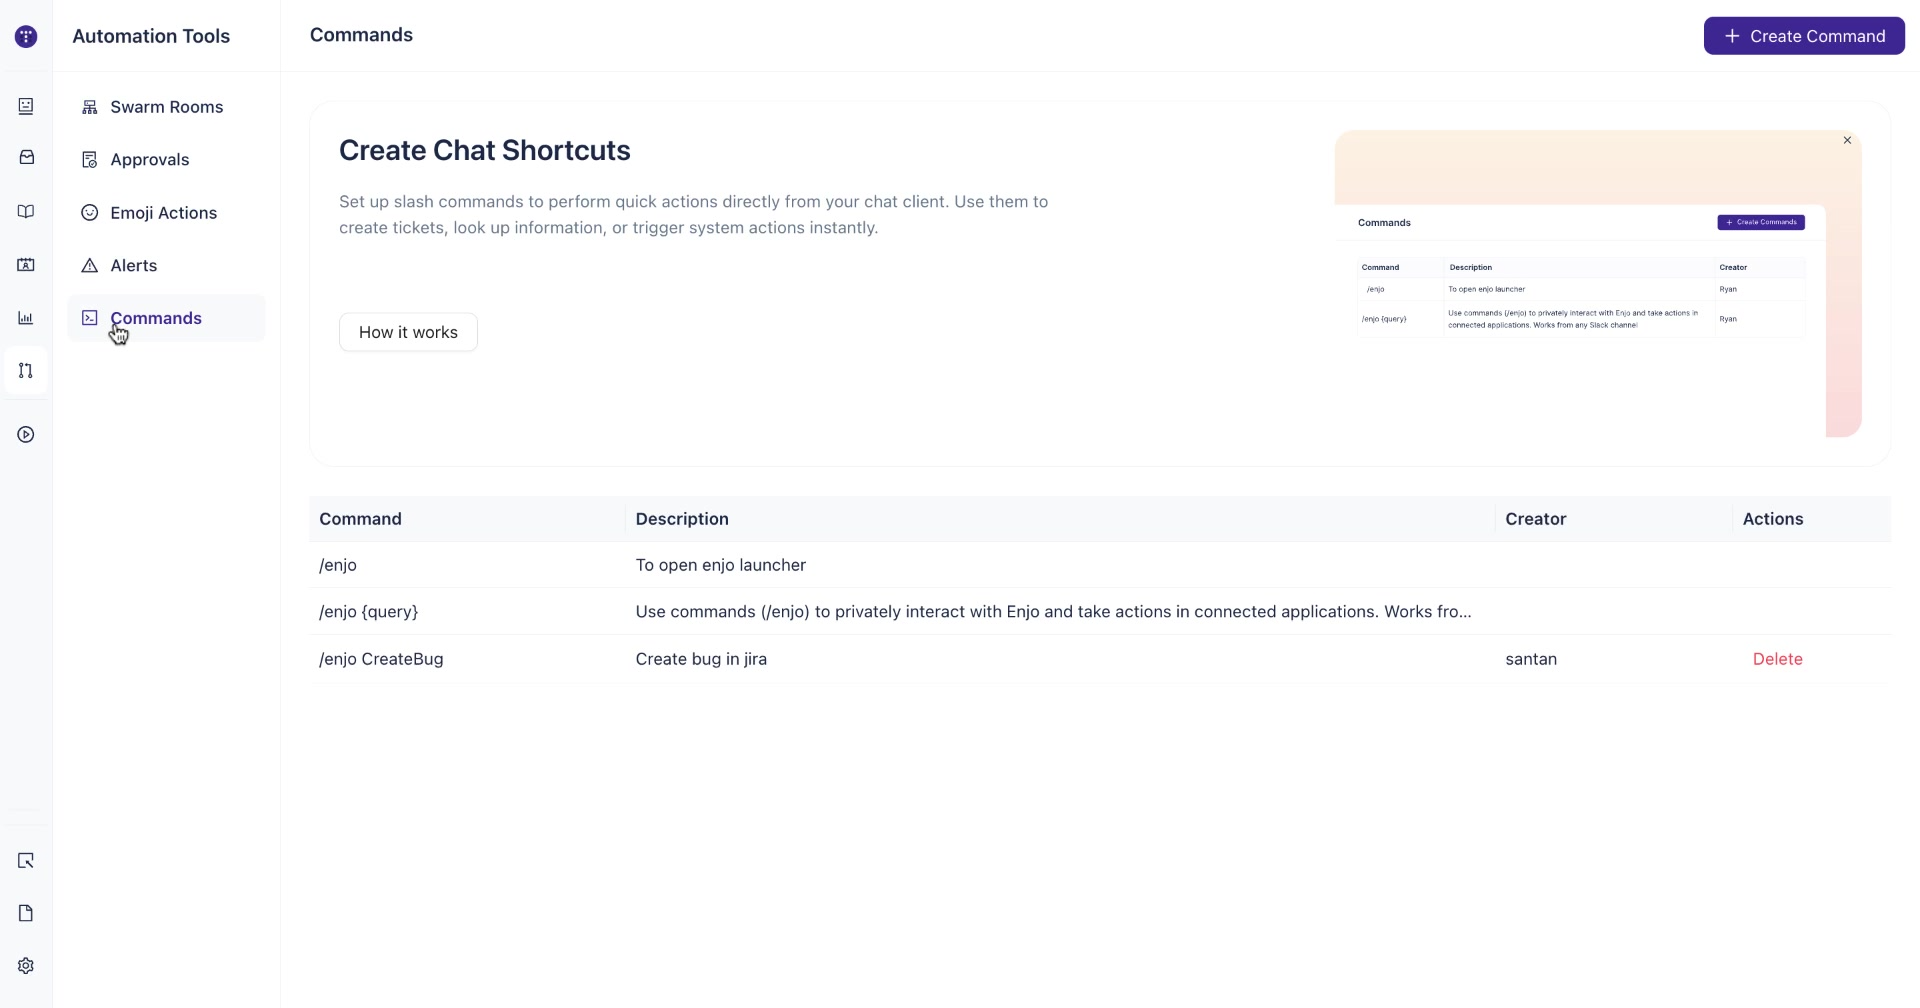
Commands let users create tickets in connected ticketing systems directly from Slack using a slash command. You configure the command keyword, the target ticketing app and project, default field values, and whether the confirmation posts publicly in the channel or privately to the user.
Commands are configured in Automation Tools, not inside an individual AI Agent. Once created, they are available across the Slack workspace you connect them to.
Note: Commands are a Slack-native feature. They work from any Slack channel where Enjo is installed.
Prerequisites
Enjo connected to a Slack workspace.
A ticketing app (Jira, Jira Service Management, ServiceNow, or similar) connected to Enjo.
Admin access to Enjo.
Default commands
Enjo includes two built-in commands available in every connected Slack workspace:
Command | Description |
|---|---|
| Opens the Enjo launcher |
| Privately interacts with Enjo and takes actions in connected applications from any Slack channel |
Custom commands you create follow the pattern /enjo {keyword} {issue-summary}.
Steps
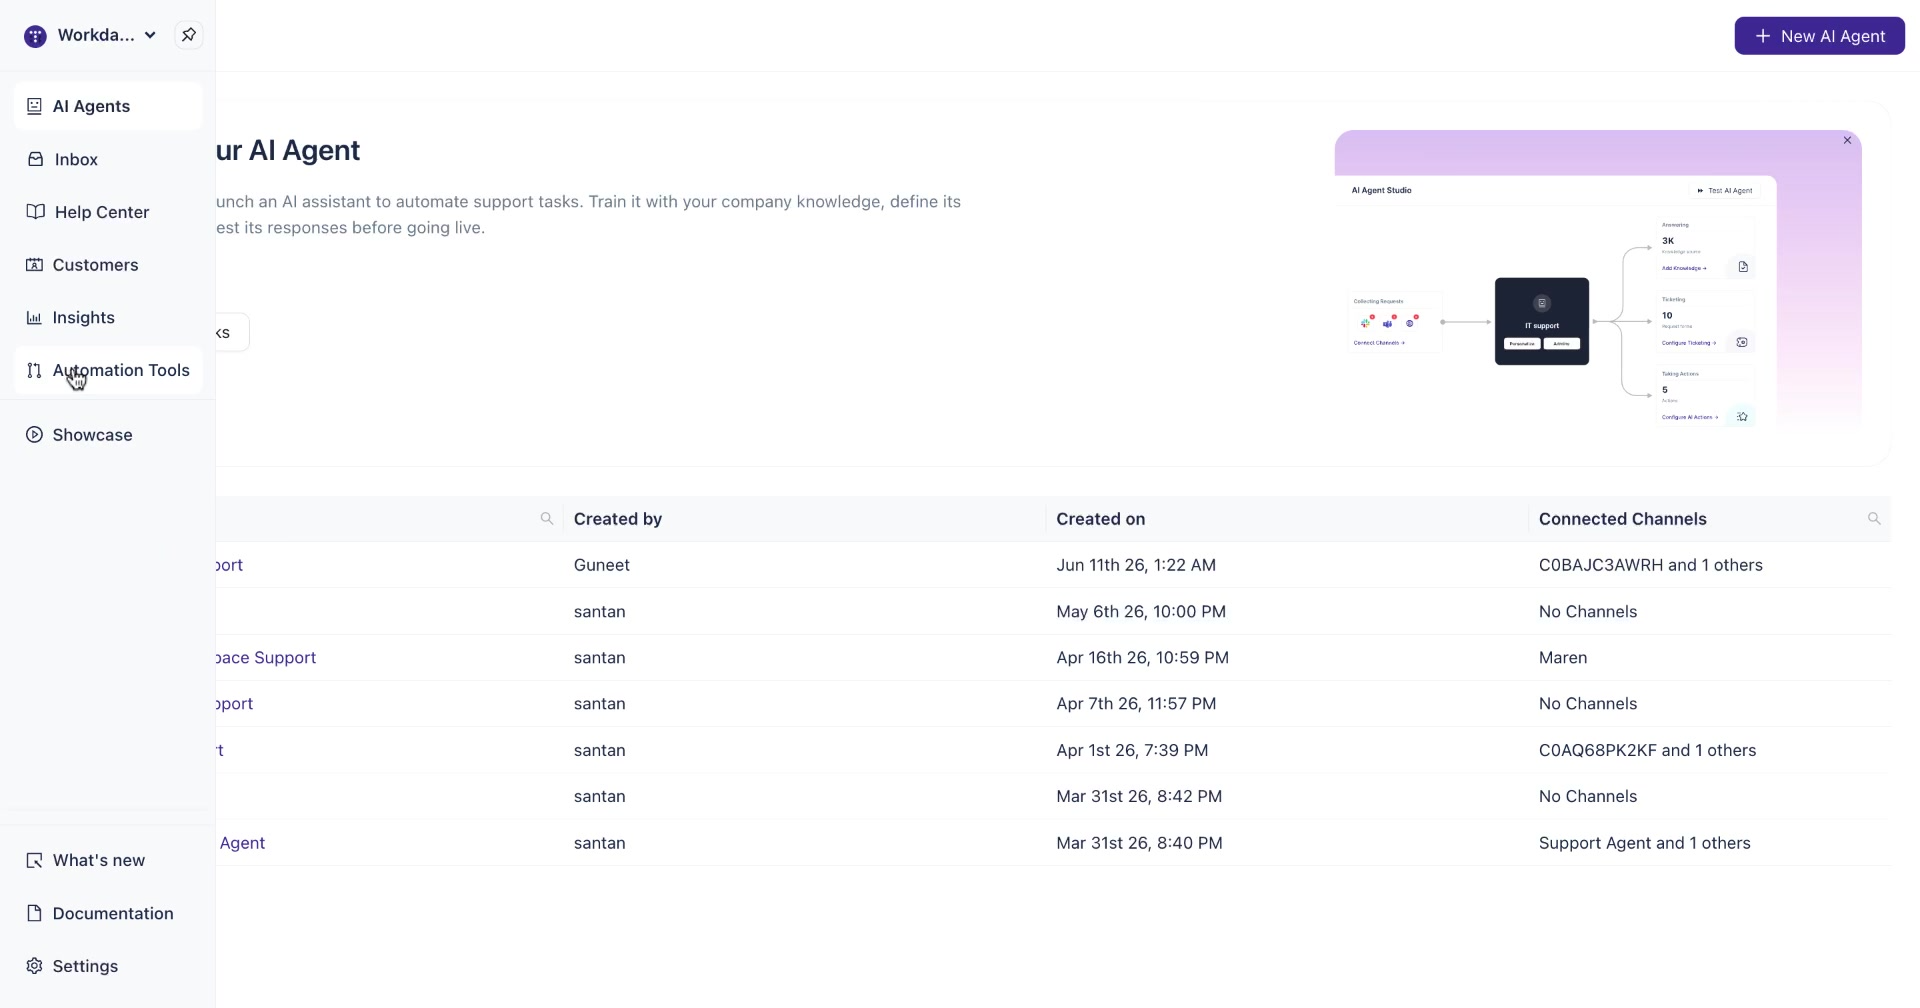
1. Navigate to Commands
From the main sidebar, click Automation Tools, then select Commands from the left navigation.
The Commands page lists all existing commands with their keyword, description, creator, and a Delete action for custom commands.
2. Click Create Command
Click + Create Command in the top right.
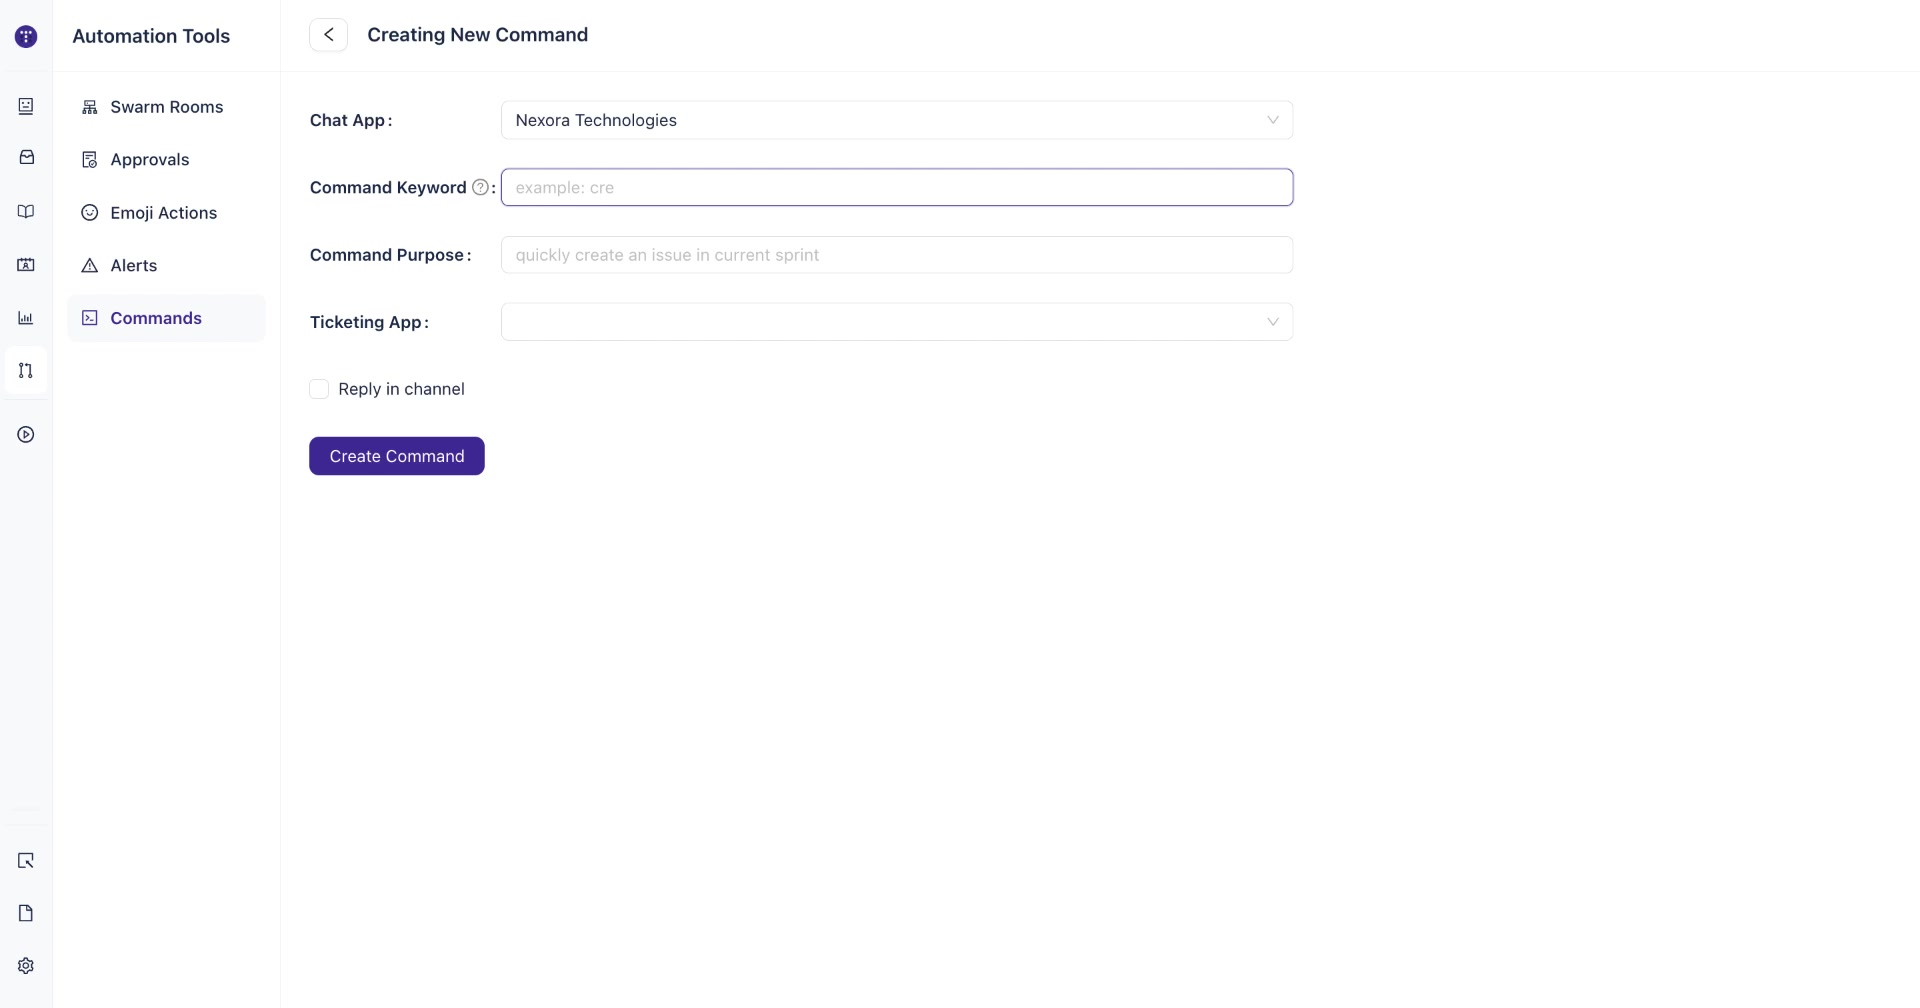
3. Select your Slack workspace
On the Creating New Command page, click the Chat App dropdown and select the Slack workspace where you want this command to be available.
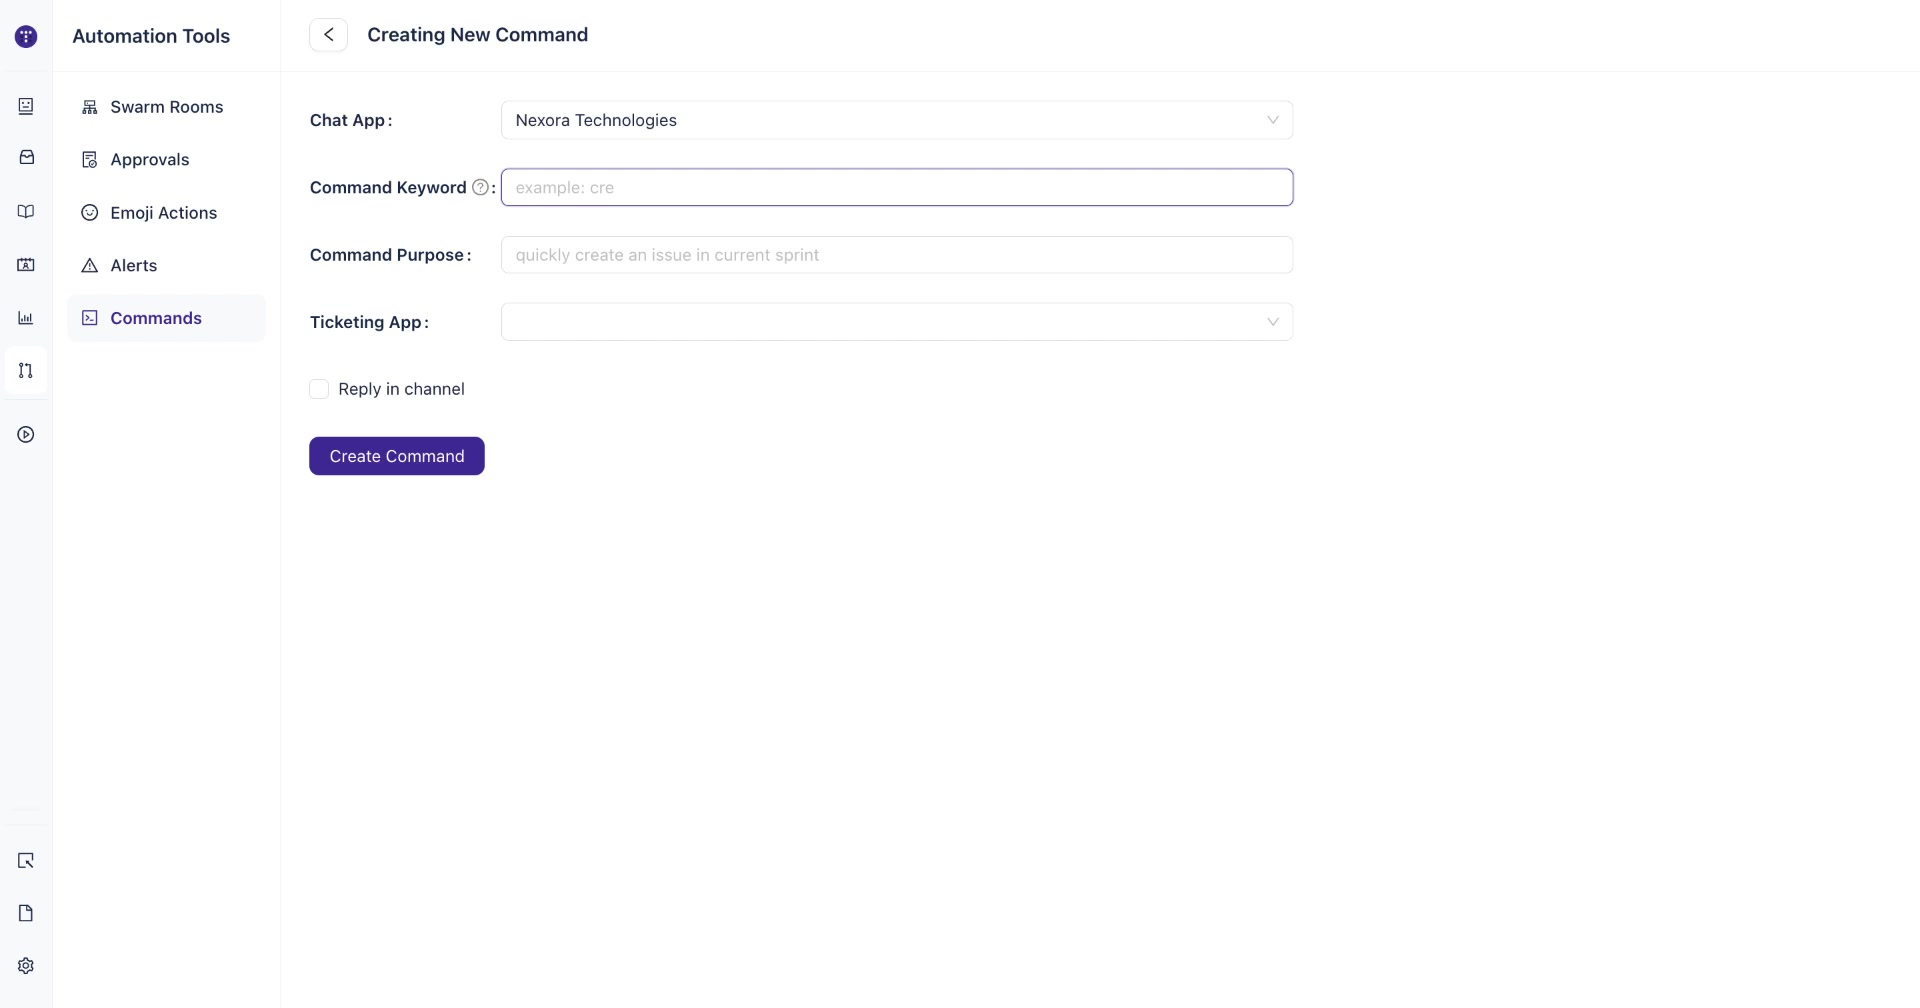
4. Enter the command keyword
In the Command Keyword field, type the word that will trigger this command. This becomes the keyword users type after /enjo in Slack.
For example, a keyword of ticket creates the command /enjo ticket issue-summary.
5. Enter the command purpose
In the Command Purpose field, describe what this command does. This text appears in the Commands list as the command description.
For example: to create a ticket
6. Select the ticketing app
Click the Ticketing App dropdown and select the connected ticketing instance where tickets should be created.
After selecting a ticketing app, an Action field appears showing the command syntax preview. For a Jira connection the action is Issue create with the syntax:
/enjo ticket issue-summary create Jira issue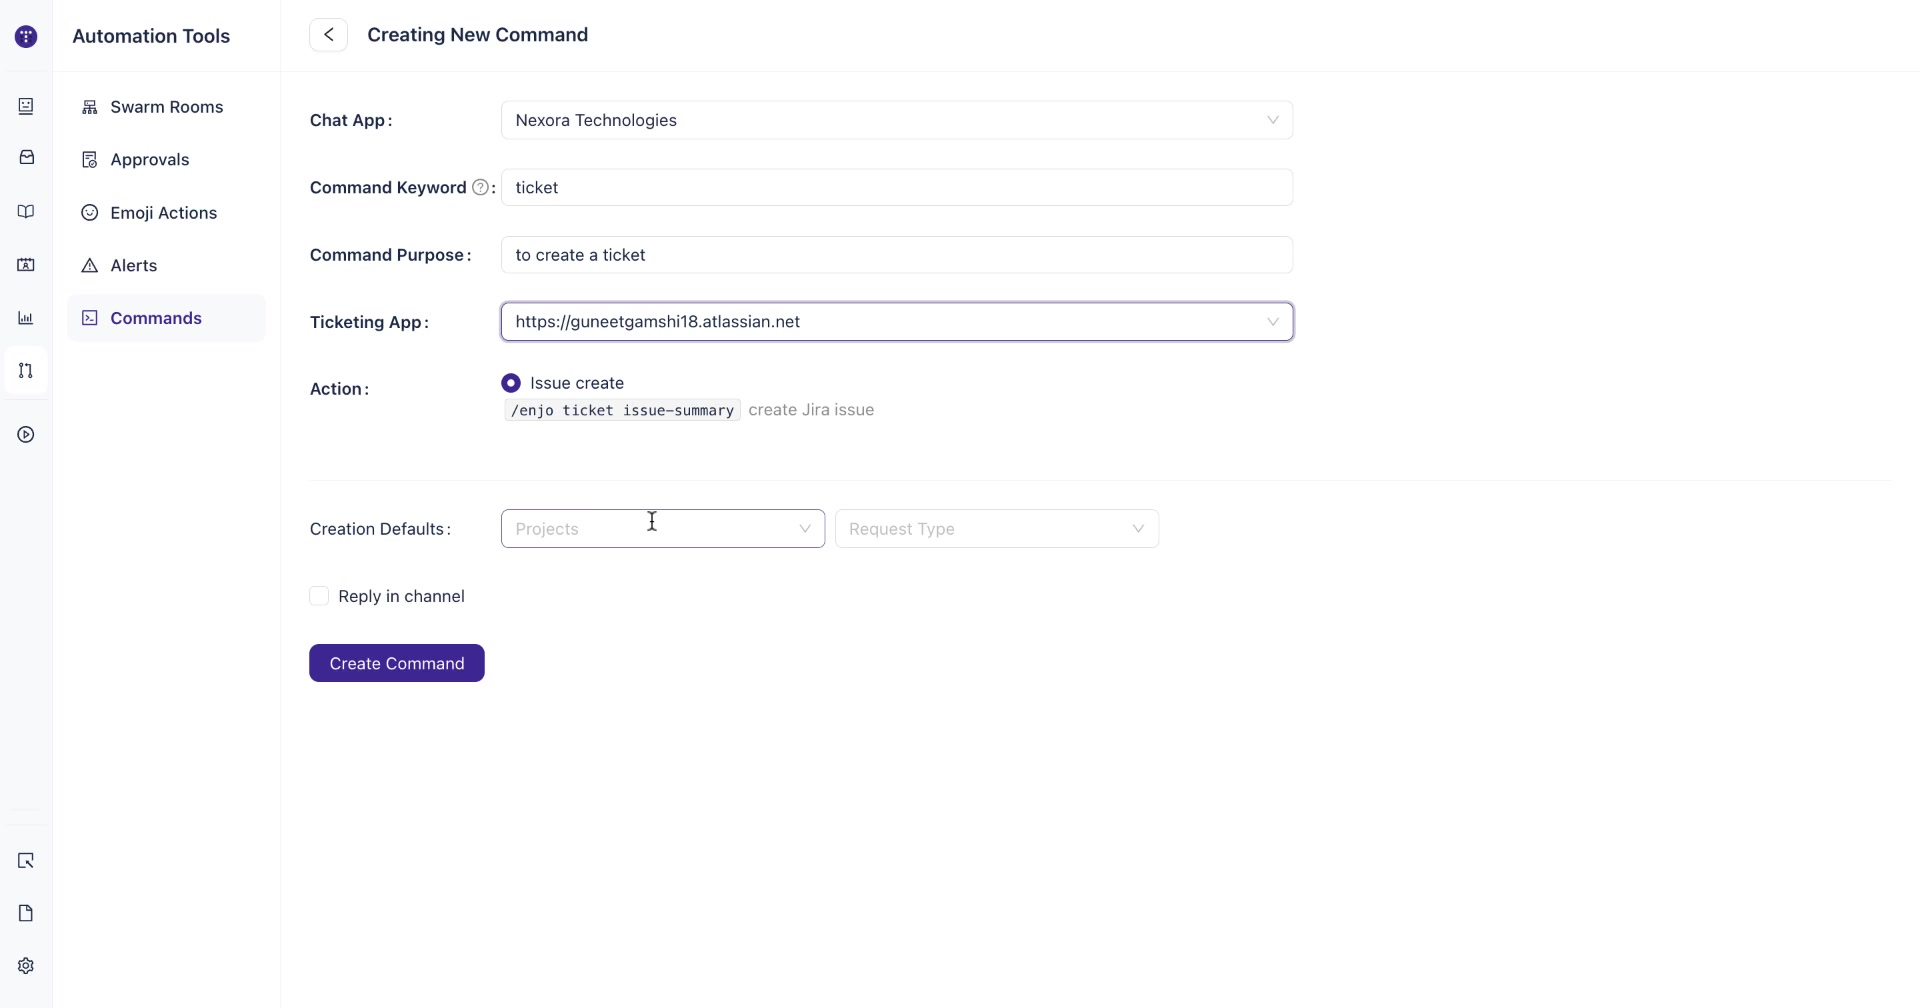
7. Set creation defaults
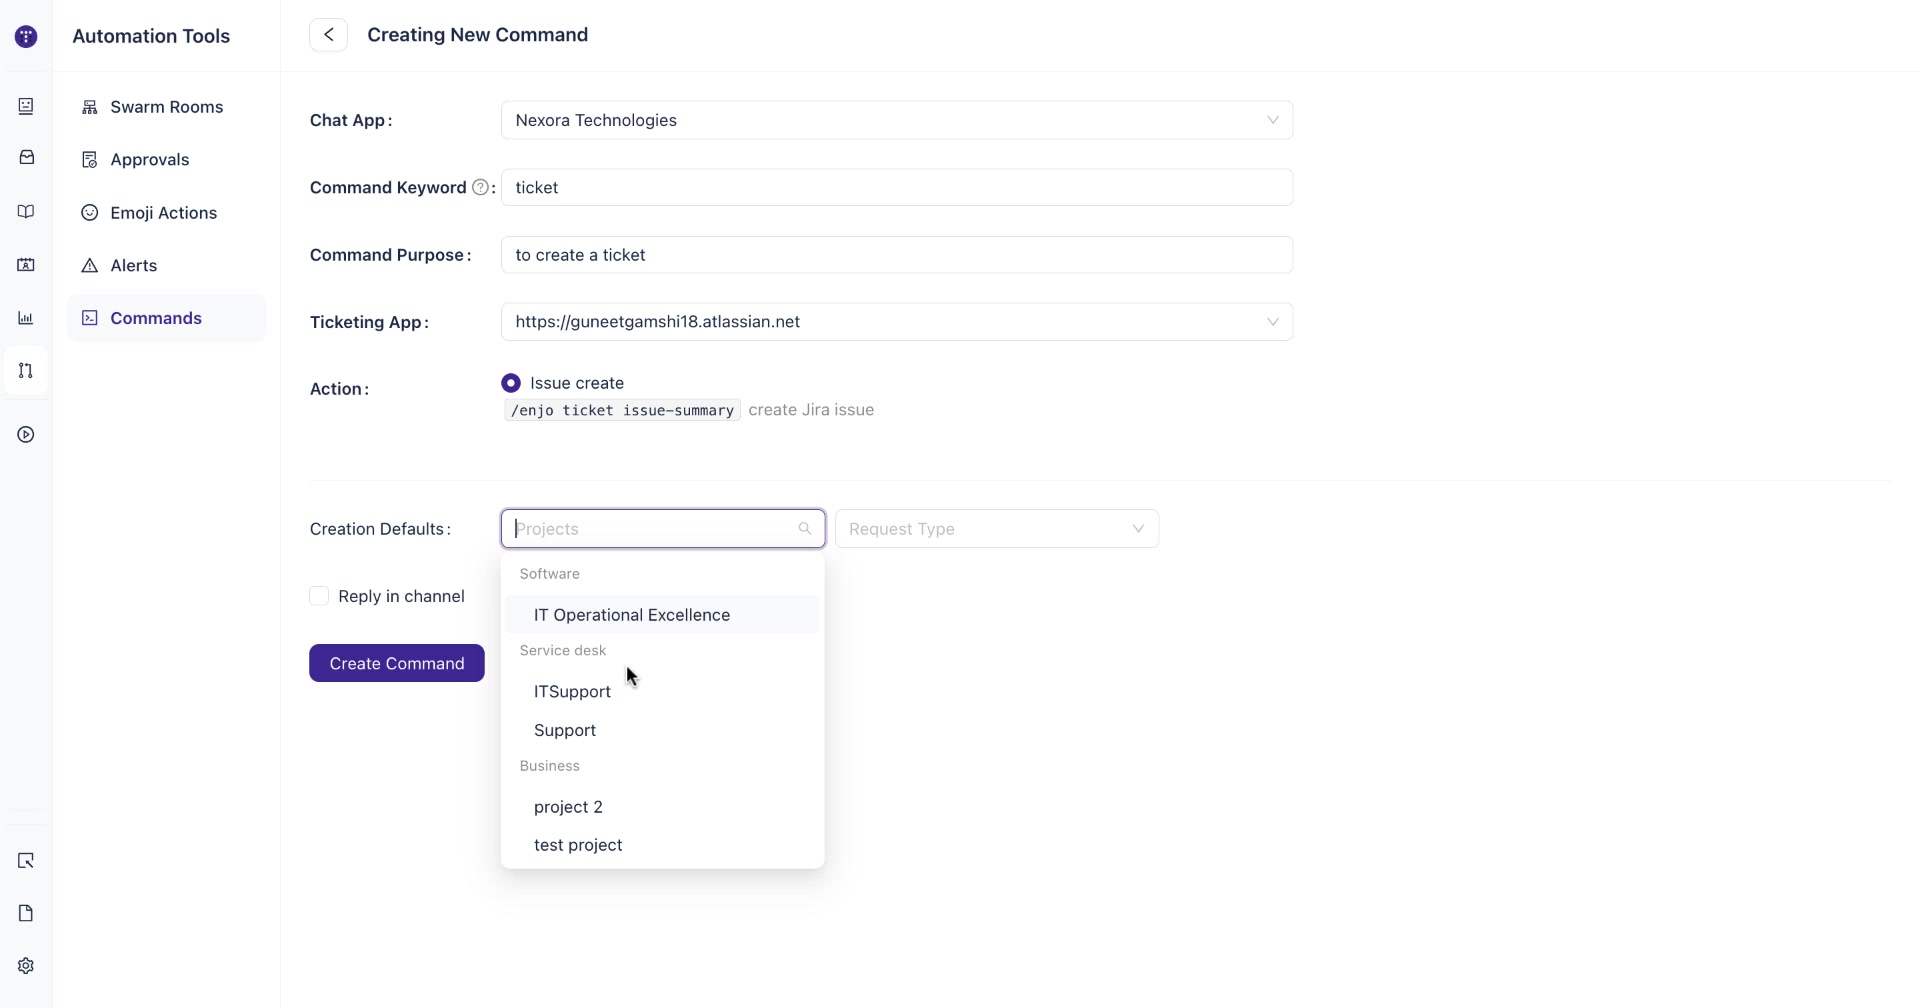
Under Creation Defaults, select the target Project and Request Type (or issue type) for tickets created by this command.
The Projects dropdown groups your Jira projects by type (Software, Service desk, Business). Select the project where tickets should land.
8. Optionally set default field values
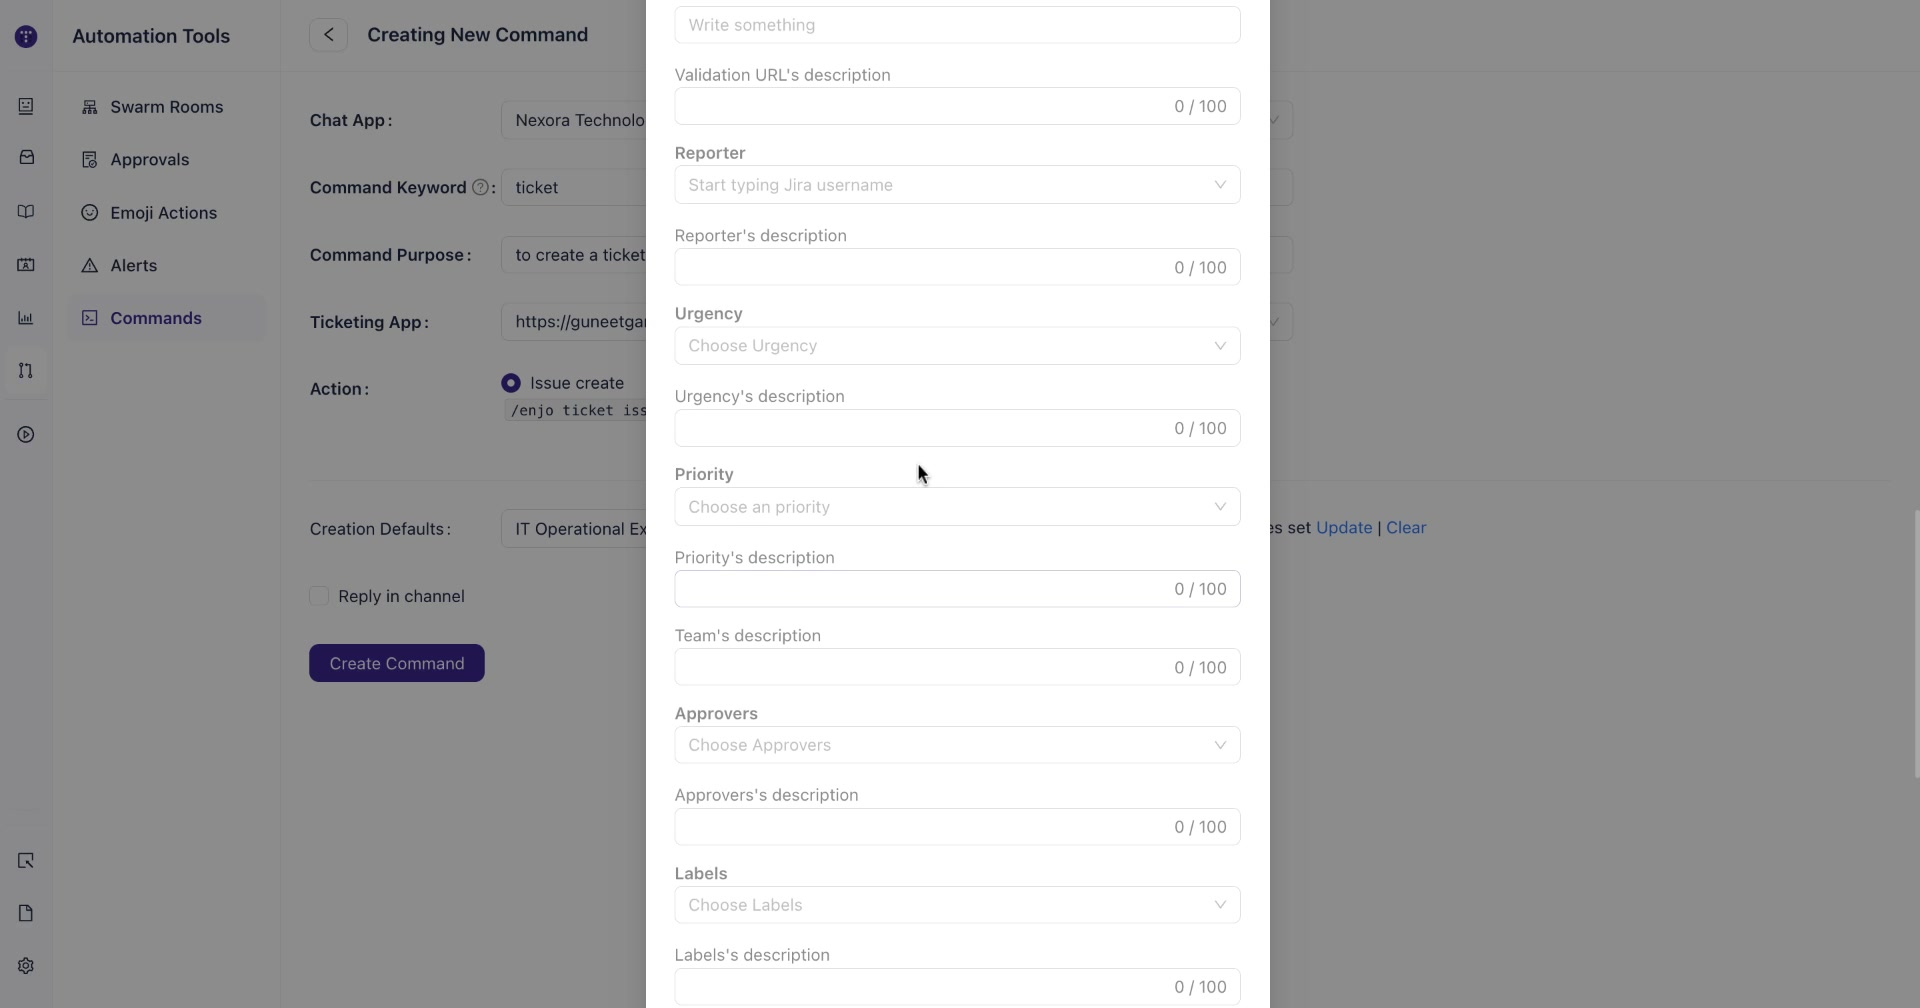
If you want specific Jira fields to be pre-populated whenever this command creates a ticket, click Update next to the Creation Defaults row. A panel opens showing all available fields for the selected project
Set any fields you want pre-filled. For example, set Urgency to Critical to apply that value to every ticket created by this command.
Click Update Fields to save the field defaults and return to the command form.
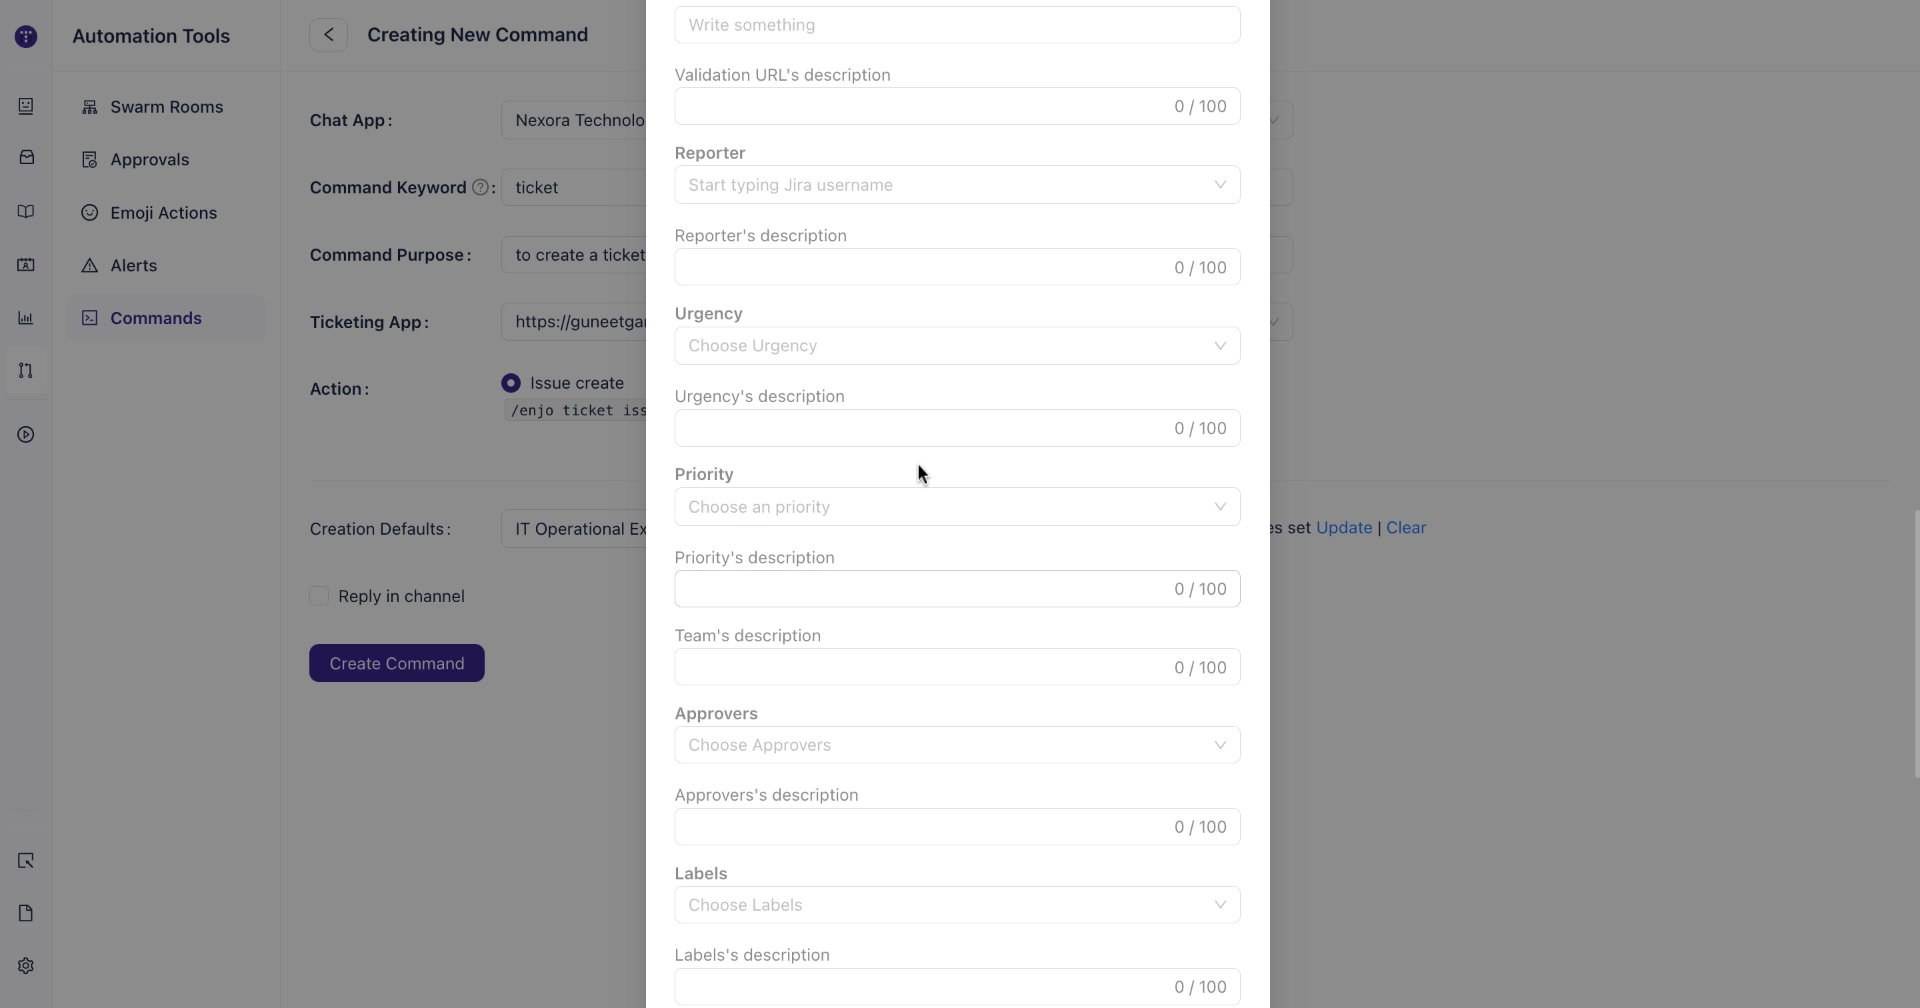
Once field defaults are set, the Creation Defaults row shows a count of how many field values are configured, with Update and Clear links to modify or remove them.
9. Configure Reply in channel
Check Reply in channel if you want the ticket confirmation to post publicly in the Slack channel where the command was used.
10. Click Create Command
Click Create Command. A green "Command created successfully" confirmation appears at the top of the Commands page, and the new command appears in the list.
Test the command in Slack
1. Open the Slack channel
Go to the Slack workspace and channel connected to Enjo.
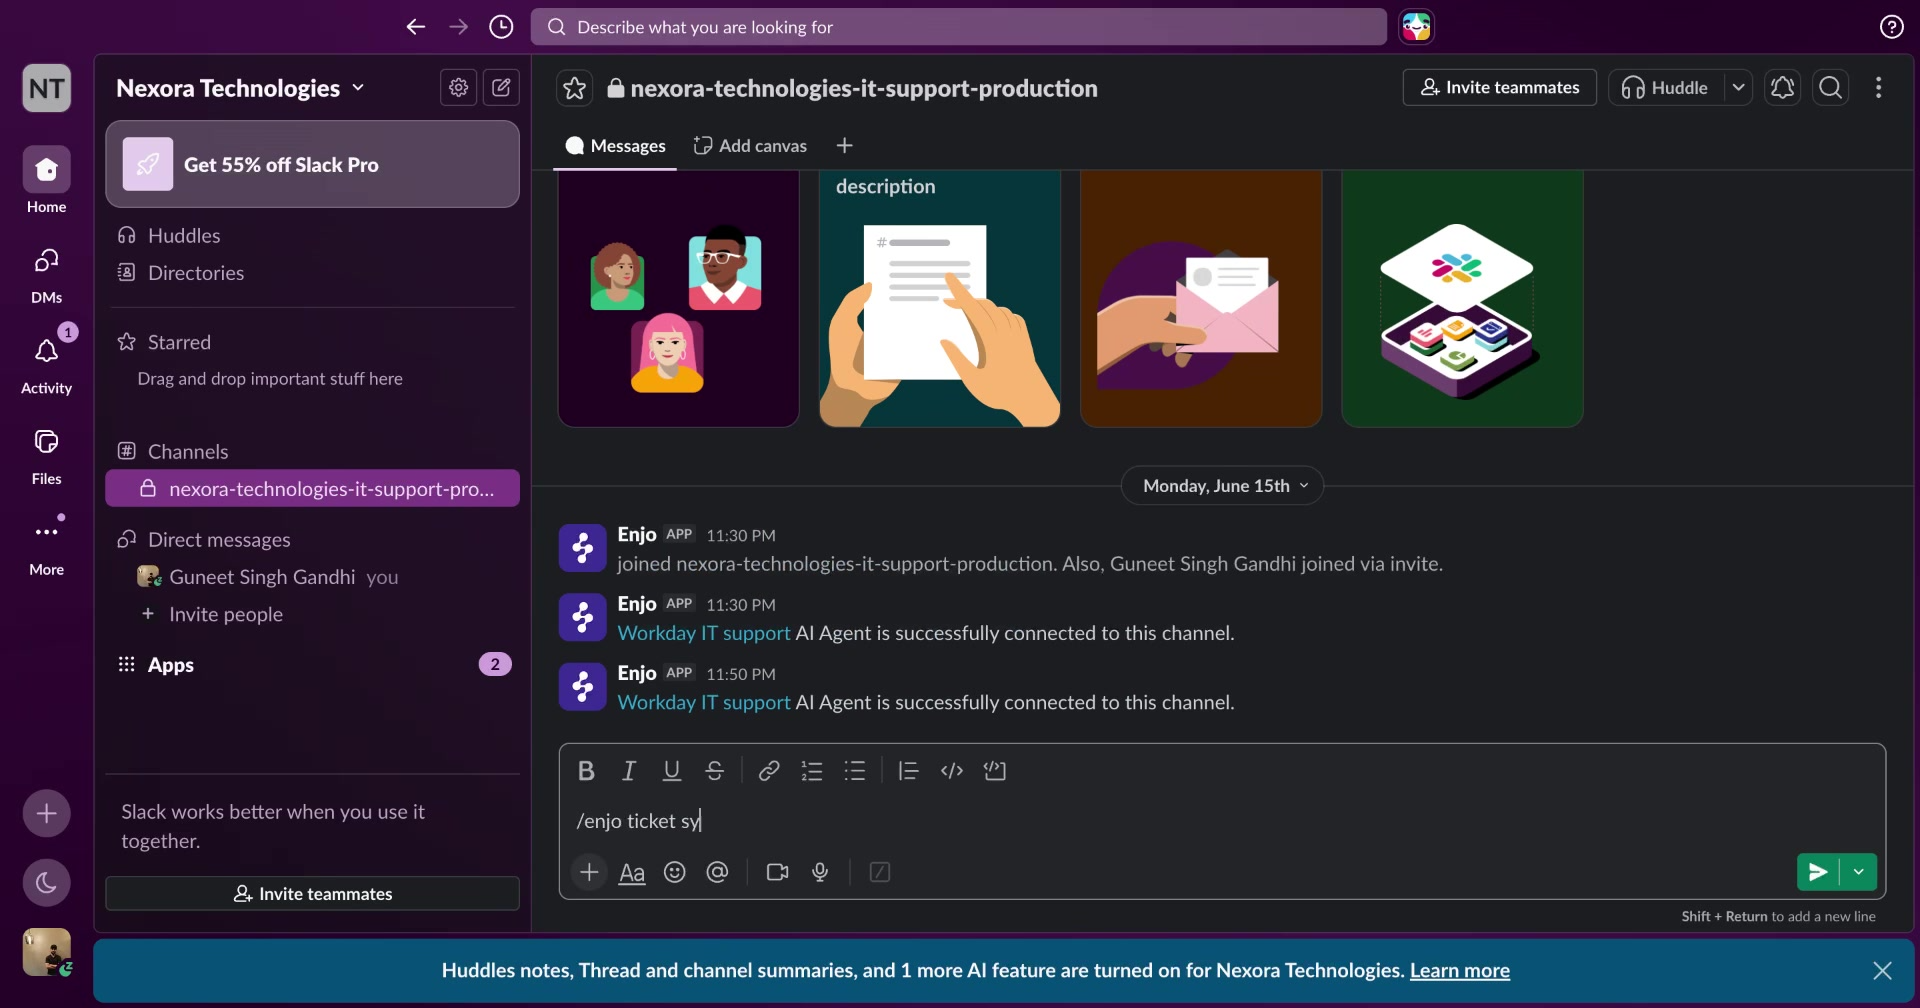
2. Type the command
In the message input, type /enjo followed by your keyword and a brief issue summary:
/enjo ticket syncronization is not working post deploymentPress Enter to execute the command.
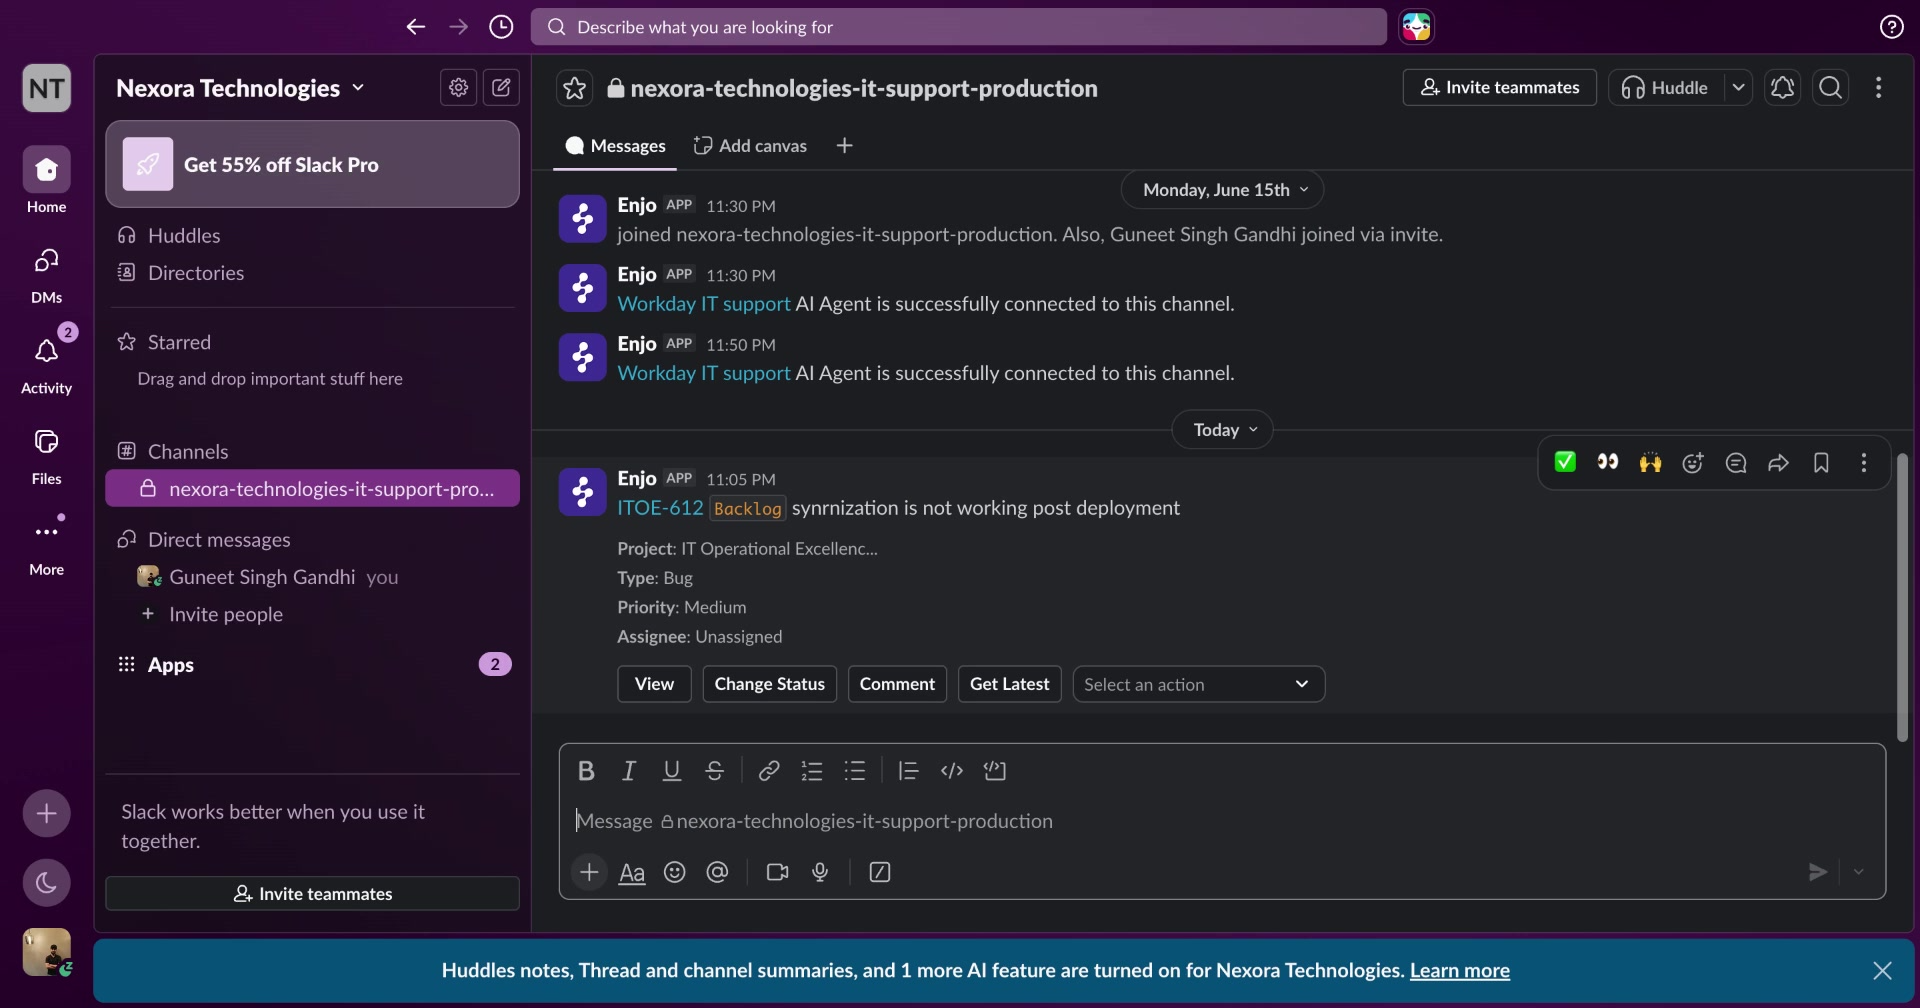
3. Review the ticket confirmation
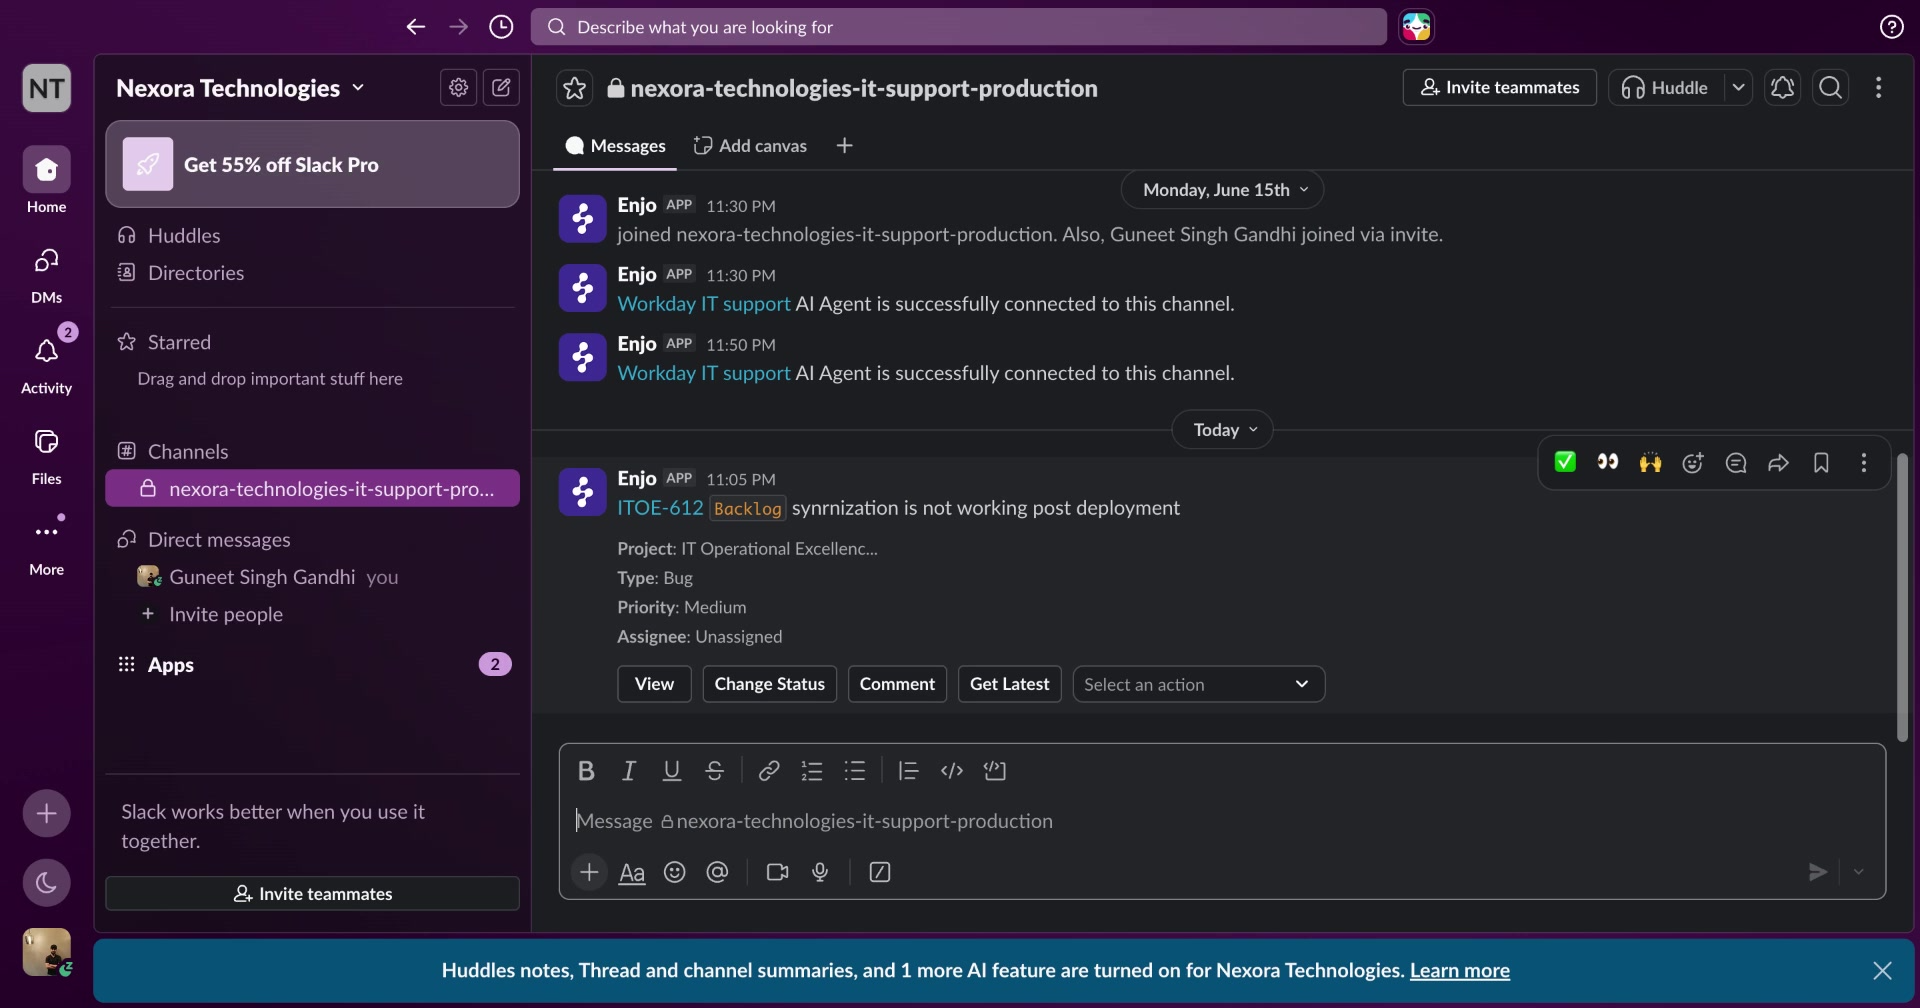
Enjo posts a ticket card in the channel showing the created ticket with its Jira issue key, project, type, priority, assignee, and status.
4. Verify field defaults were applied
Click View on the ticket card to open the issue detail. Confirm that any field defaults you configured — such as Urgency: Critical — were applied correctly.
What's next
Configure Approvals— configure in-chat approval flows in Slack or Teams so approvers can take action directly from the conversation