
Request Card Customization
In this article, you'll learn how to customize the request card that the AI Agent shows in Slack — its title, attributes, action buttons, and thread sync message.
How this works
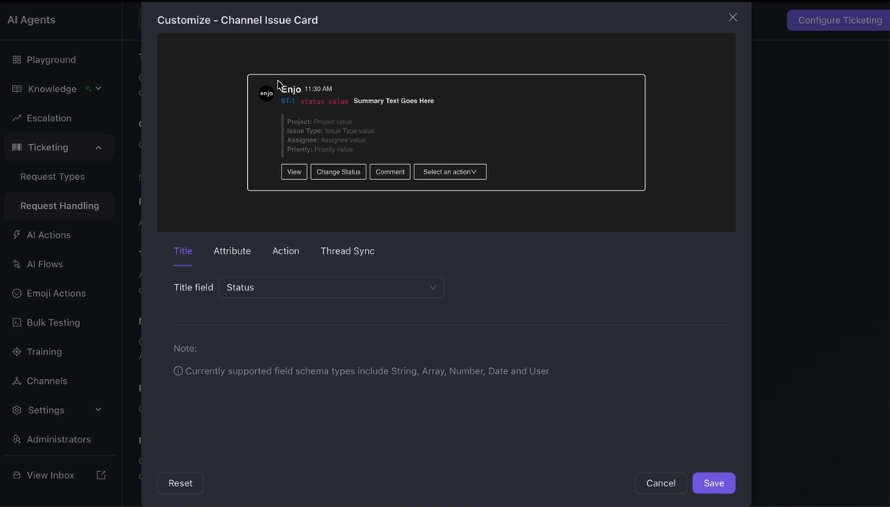
Request card customization controls how Enjo displays Jira requests as cards in Slack. The customization modal has four tabs:
Title — Set the field used as the card title.
Attribute — Choose which attributes appear, their order, and their alignment.
Action — Configure the action buttons on the card.
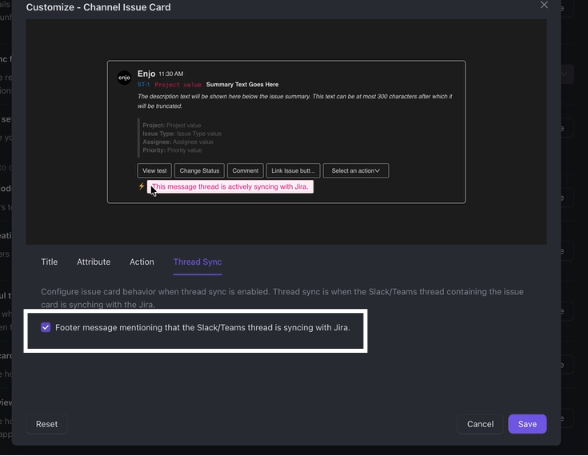
Thread Sync — Control the message shown when thread sync is active.
A live preview at the top of the modal shows how the card will look as you make changes.
Before you start
You need access to an AI Agent with Ticketing configured.
A connected ticketing project (for example, a Jira project) must be available.
Open request card customization
Go to AI Agents > Ticketing > Request Handling.
At the bottom of the screen, in the Request card customization row, select Customize.
The modal loads with a preview of the card as it will appear in Slack.
Set the card title
Select the Title tab.
In Title field, select the field to use as the card title.
The preview updates to reflect your selection.
ℹ️ Supported field schema types are String, Array, Number, Date, and User.
Configure attributes
Attributes are the fields shown on the card, such as Project, Issue Type, Assignee, and Priority.
Select the Attribute tab.
Turn on Show Description to include the ticket description on the card.
Set Alignment to Vertical or Horizontal.
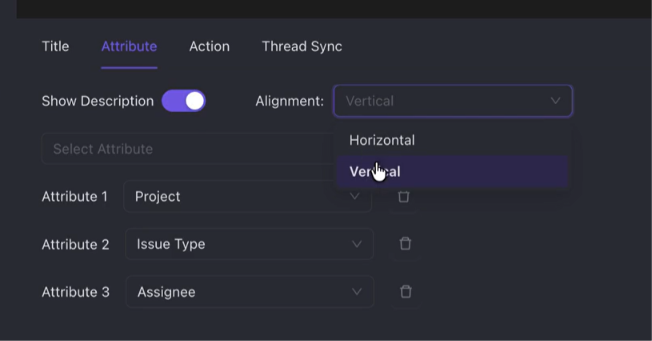
To add an attribute, select it from the Select Attribute dropdown and select Add. You can add multiple attributes.
To remove an attribute, select the delete icon next to it.
Select Save.
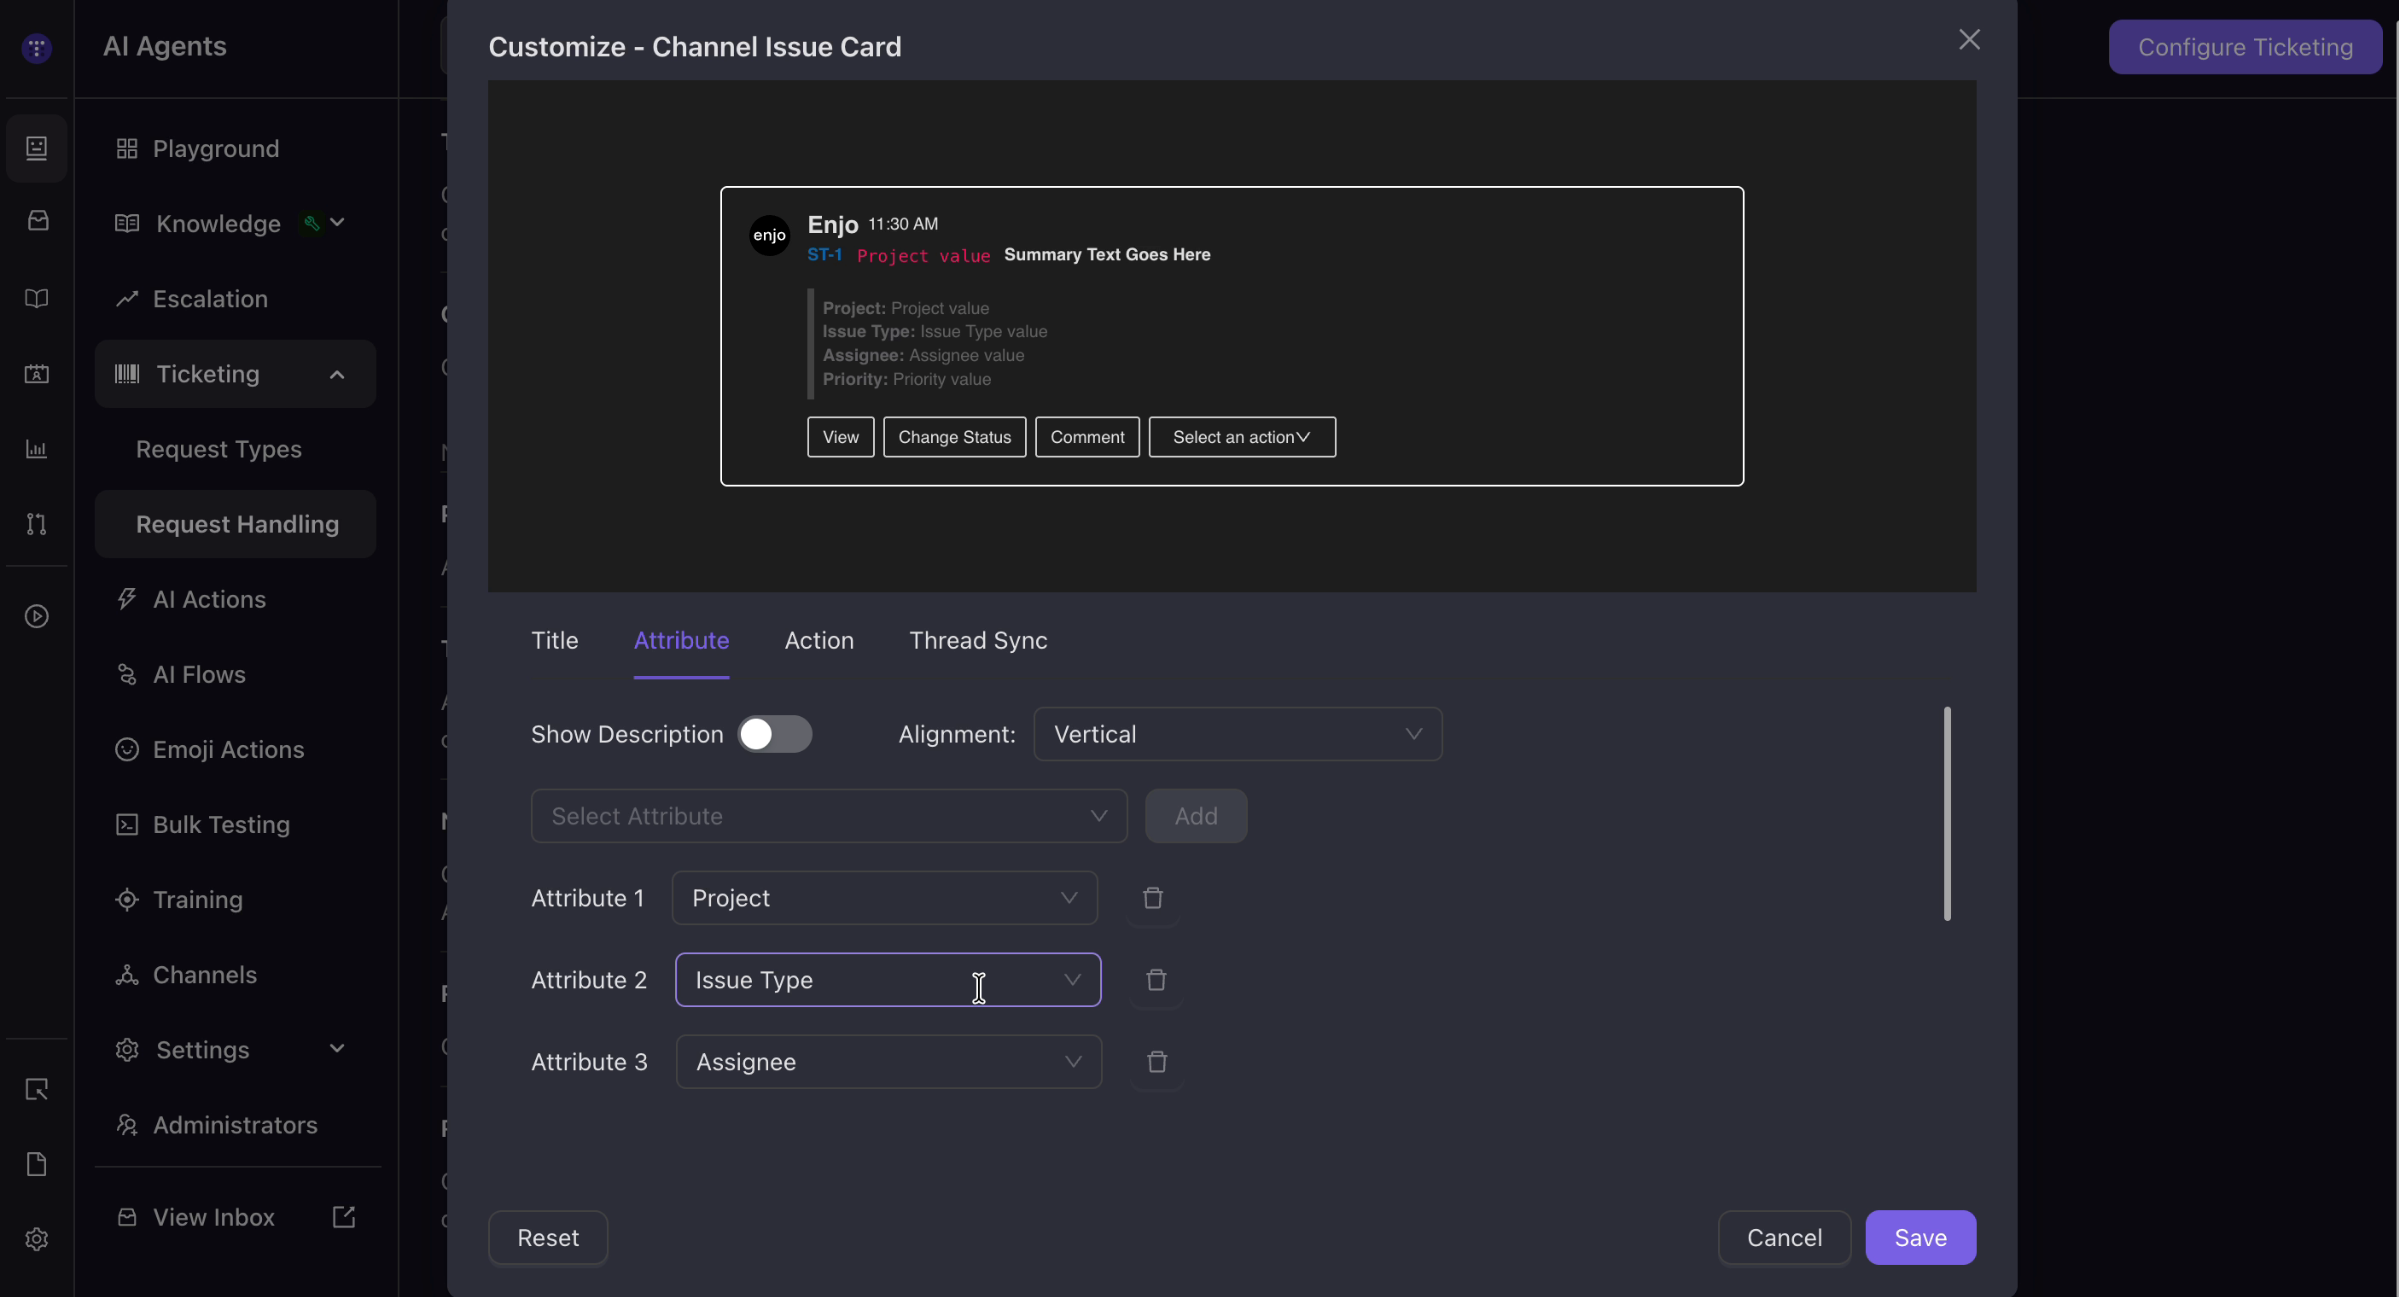
ℹ️ The description appears below the issue summary and can be at most 300 characters, after which it's truncated.
Configure action buttons
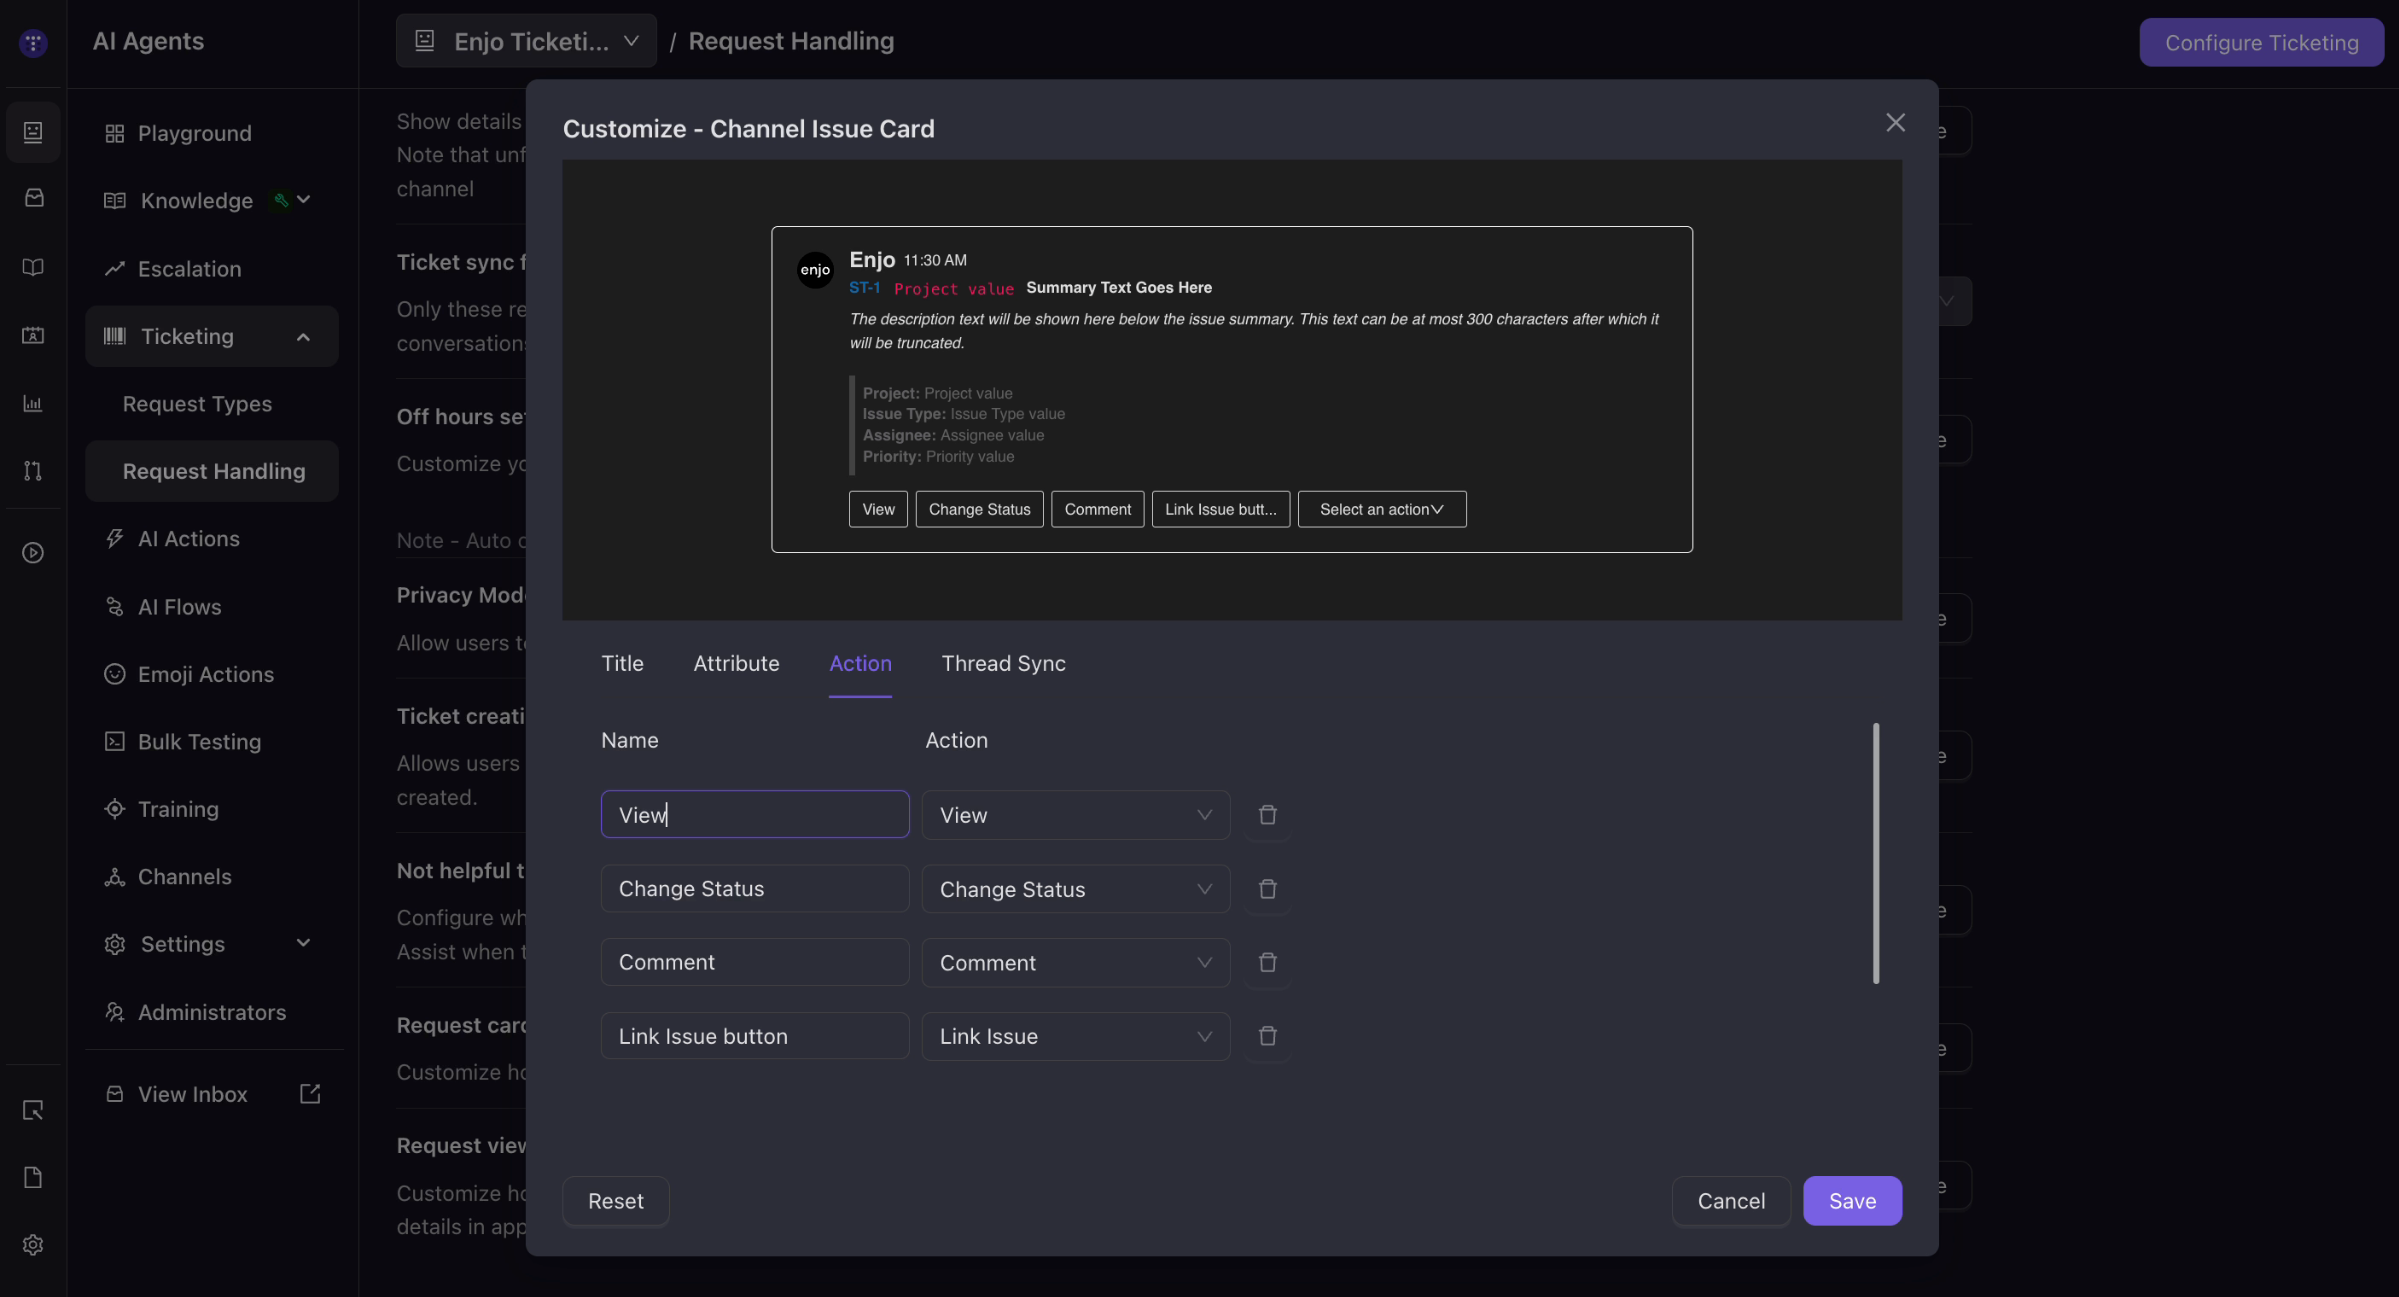
Actions are the buttons shown on the request card.
Select the Action tab.
Use the checkbox to show or hide the dropdown actions. When unchecked, the dropdown isn't shown.
To add an action, select it from the dropdown — for example, Link Issue — and enter a name for the button.
To rename a button, edit its name.
To remove an action, select the delete icon next to it.
Select Save.
ℹ️ If a value isn't found, "Not Available" is shown.
Configure the thread sync message
Select the Thread Sync tab.
Leave the message enabled to show a message in the thread while it's actively syncing with Jira, or disable it to hide that message.
Select Save.
⚠️ Saved changes apply only to new messages in Slack after the change.
What's next
Customize Request Views in Slack — Customize how request details appear when viewing a request in apps.
Configure Request Handling — Configure assignment, feedback, attribution, and sync settings.
Configure and Manage Request Types — Define the request types your agent can create.