
Create AI Agent
This guide walks you through creating and configuring a custom AI Agent from naming and defining its role to connecting knowledge sources, personalizing it as per your requirement.
By the end of this article, you'll know how to:
Define your agent's role so it answers with purpose, not guesswork
Connect knowledge sources to ground its responses
Tune the answer style to match your team's tone
Configure escalation rules so it knows when to hand off to a human
Personalize tone, behavior, and guardrails
Test the agent before deploying it to a channel
Note: If you're setting up an agent for customer service, some channel and integration options may differ from IT and HR deployments.
Step 1 — Open the AI Agents Page
Go to your Enjo dashboard.
Click AI Agents in the main navigation.
💡 Tip: If you're already inside a specific agent view, use All AI Agents in the top navigation to return to the main list.
Step 2 — Create a New Agent
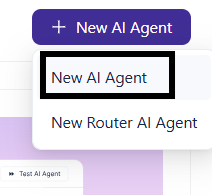
Click Add New AI Agent and select New AI Agent from the dropdown.
New AI Agent vs. New Router AI Agent — A standard AI Agent handles queries directly using its own knowledge base. A Router AI Agent distributes incoming queries across multiple specialized agents. For most use cases, start with a standard AI Agent. [Learn more about Create Router AI Agent ]
Step 3 — Name Your Agent
Give your agent a clear, descriptive name that reflects its purpose. A good name makes it easier to manage as you add more agents over time.
Example: Workday HR Support — for an agent handling Workday-related HR queries.
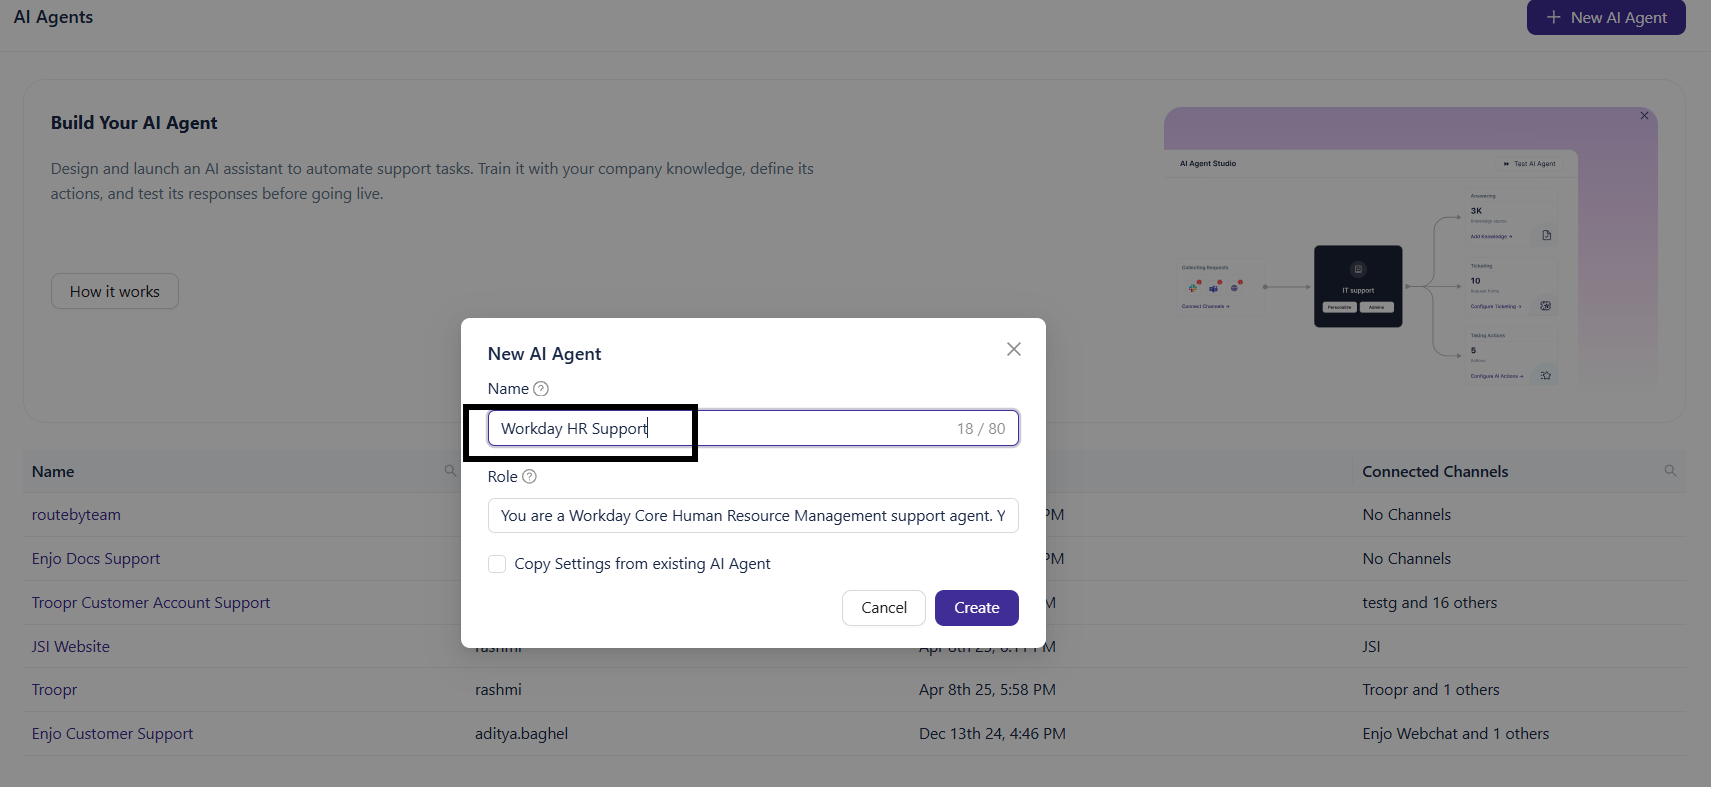
Step 4 — Define the Agent's Role
The role field tells the agent what it's responsible for and shapes every response it gives.
Use this format:
You are a [role]. Your job is to help [who] by [what the agent does].Example:
You are a Workday Core Human Resource Management support agent.
Your job is to help HR teams and employees by resolving queries
related to HR data, onboarding, compensation, benefits, and HR
processes within Workday.
💡Tip: To reuse an existing agent's configuration, use the Copy Settings option on this screen. Otherwise, click Create to proceed with a fresh setup.
What's Next?
Your agent is created. Work through these setup steps in order:
Set Escalation Rules -> Define when, how, and where the agent hands off to humans.
AI Agent Ticketing -> Link your ticketing system so the agent can create and track tickets.
Deploy to Channels -> Connect Slack, Microsoft Teams, or your website.